Cursive O
Learning cursive O helps you write smooth, rounded letters with confidence. This page provides step-by-step instructions for both uppercase and lowercase O. Download free printable worksheets to trace and practice the letter O, improving your handwriting flow, consistency, and neatness.

How to Write O in Cursive
The cursive O is all about a smooth, circular motion. Unlike many other letters that end at the bottom baseline, the O finishes with a “bridge” or “tow-line” near the middle dashed line.
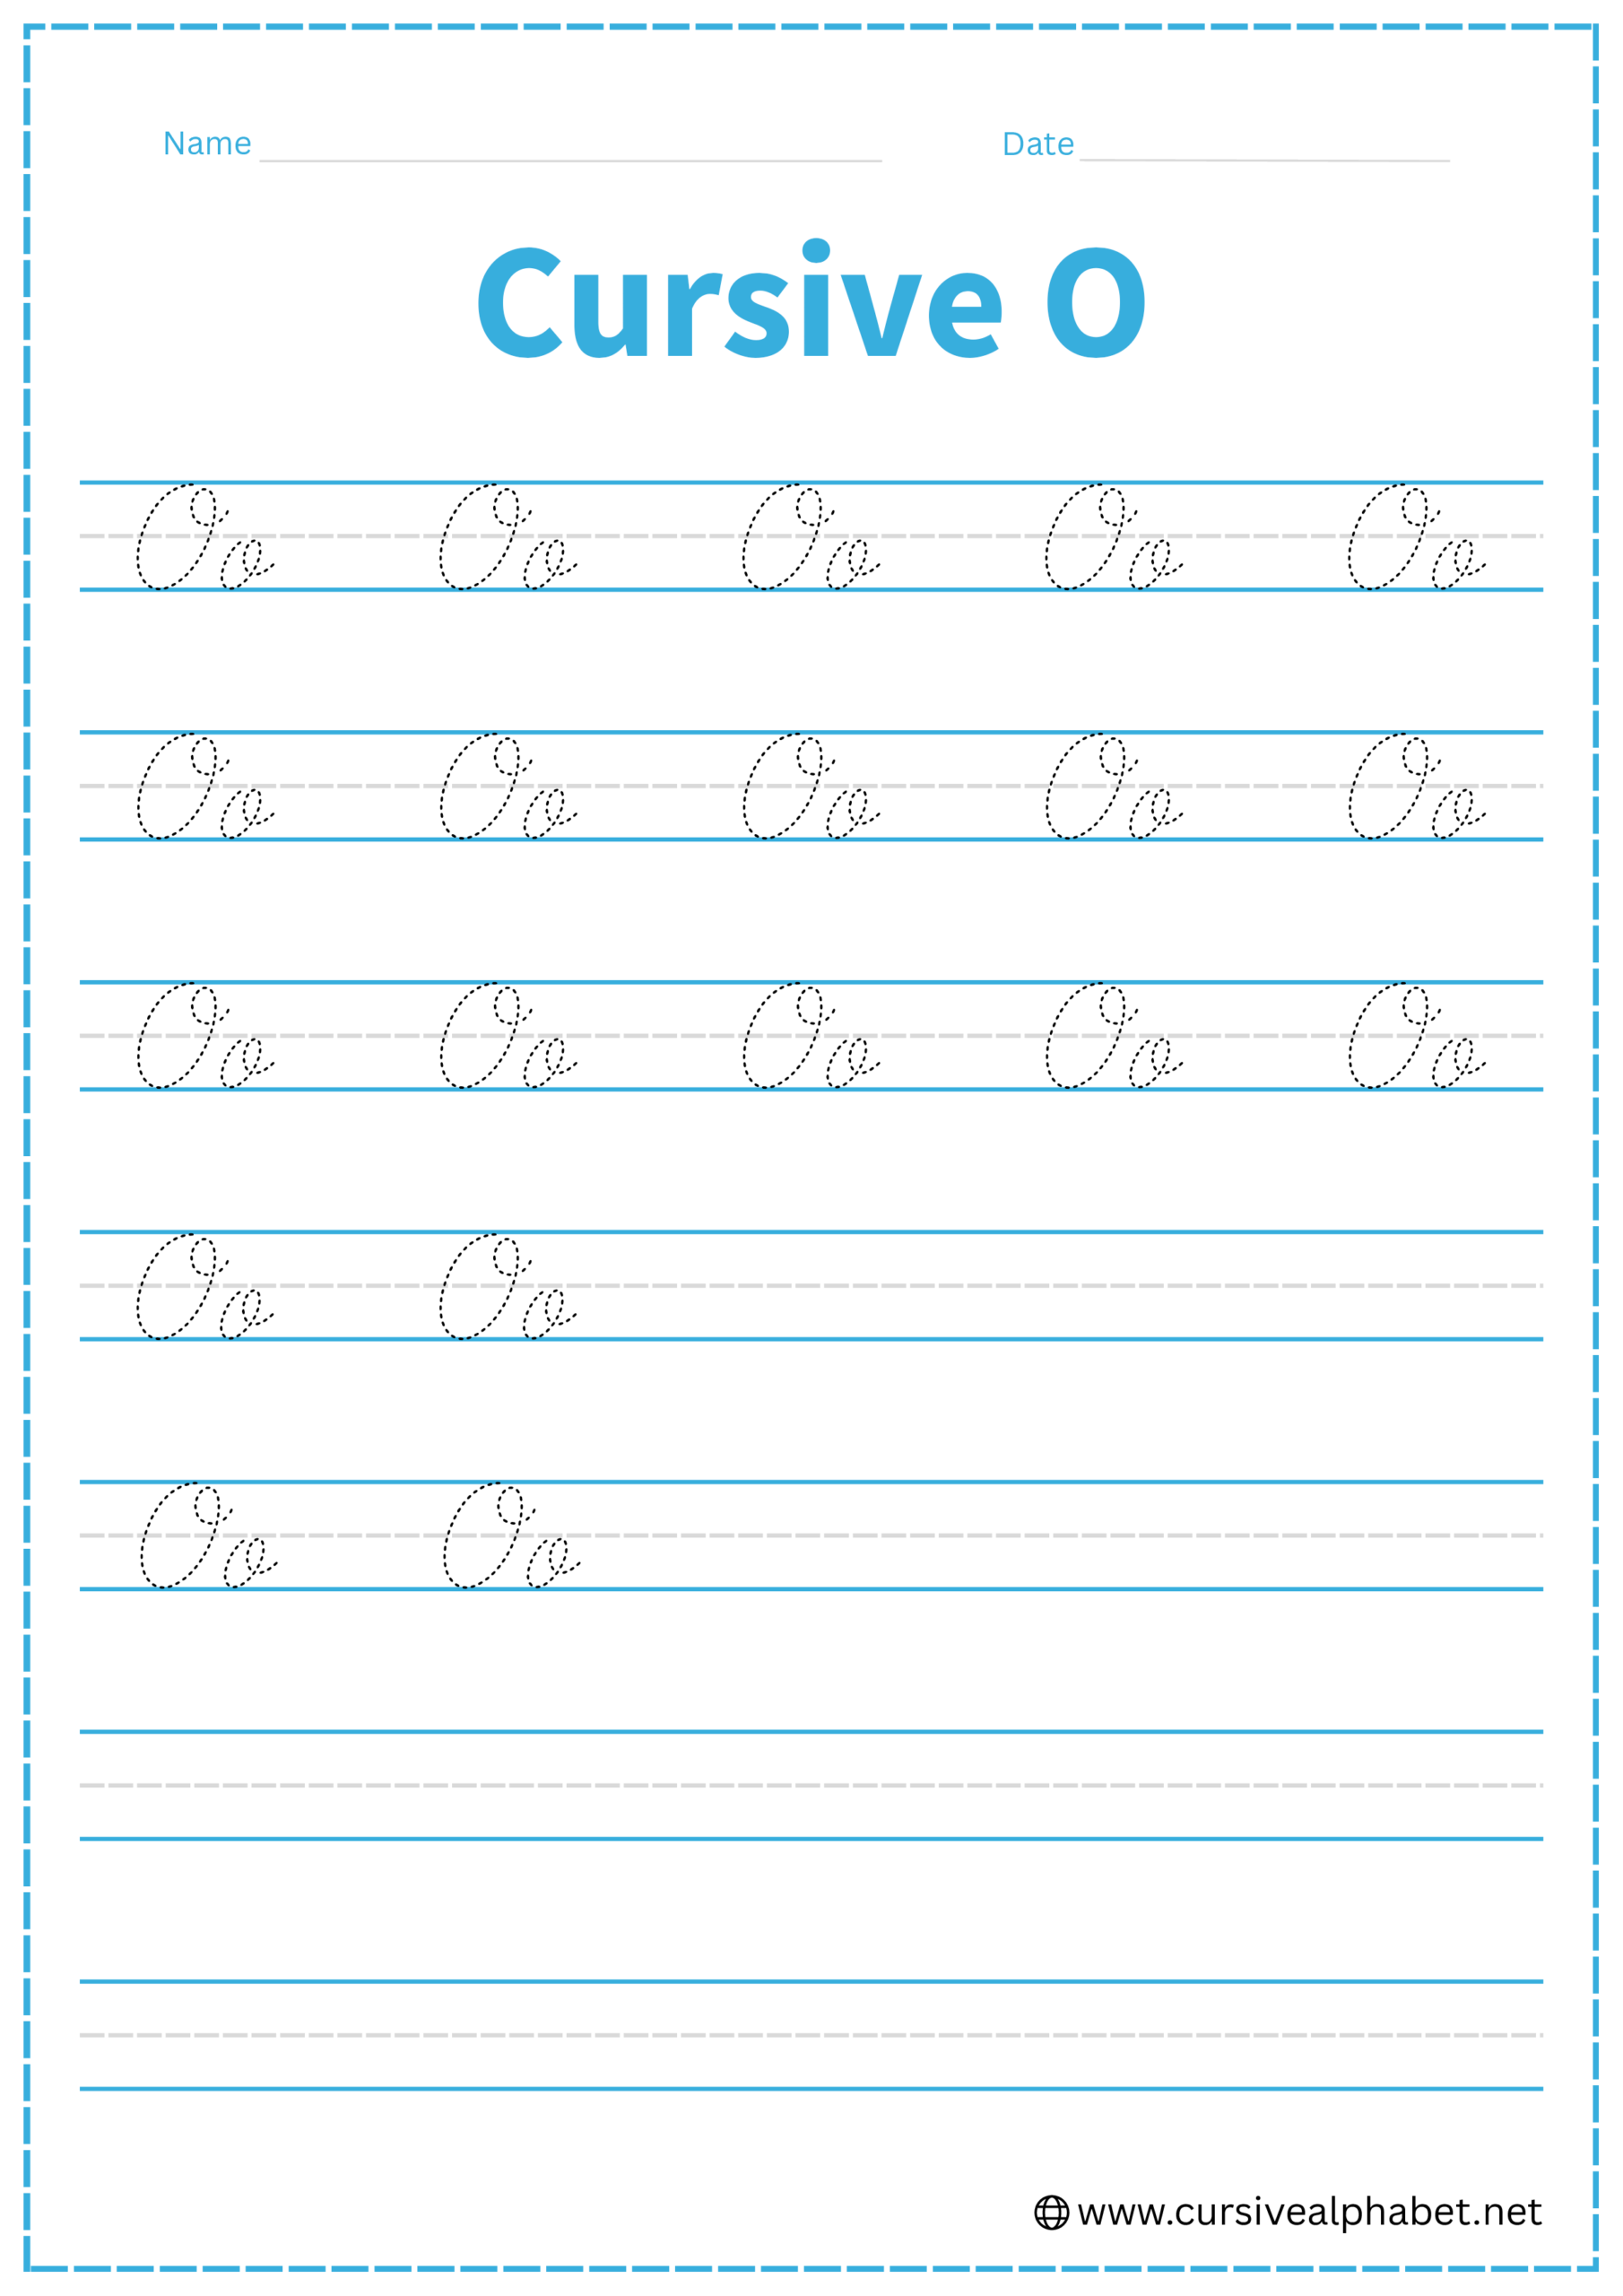
How to Write Lowercase Cursive O
The lowercase o sits entirely between the bottom baseline and the middle dashed line.
- Start on the bottom baseline and curve upward to the middle dashed line.
- Stop, retrace back around to the left to form a full circle, and close it at the top.
- Instead of dropping back to the baseline, draw a small horizontal “tail” or bridge that stays at the middle dashed line. This tail reaches out to connect to the next letter.
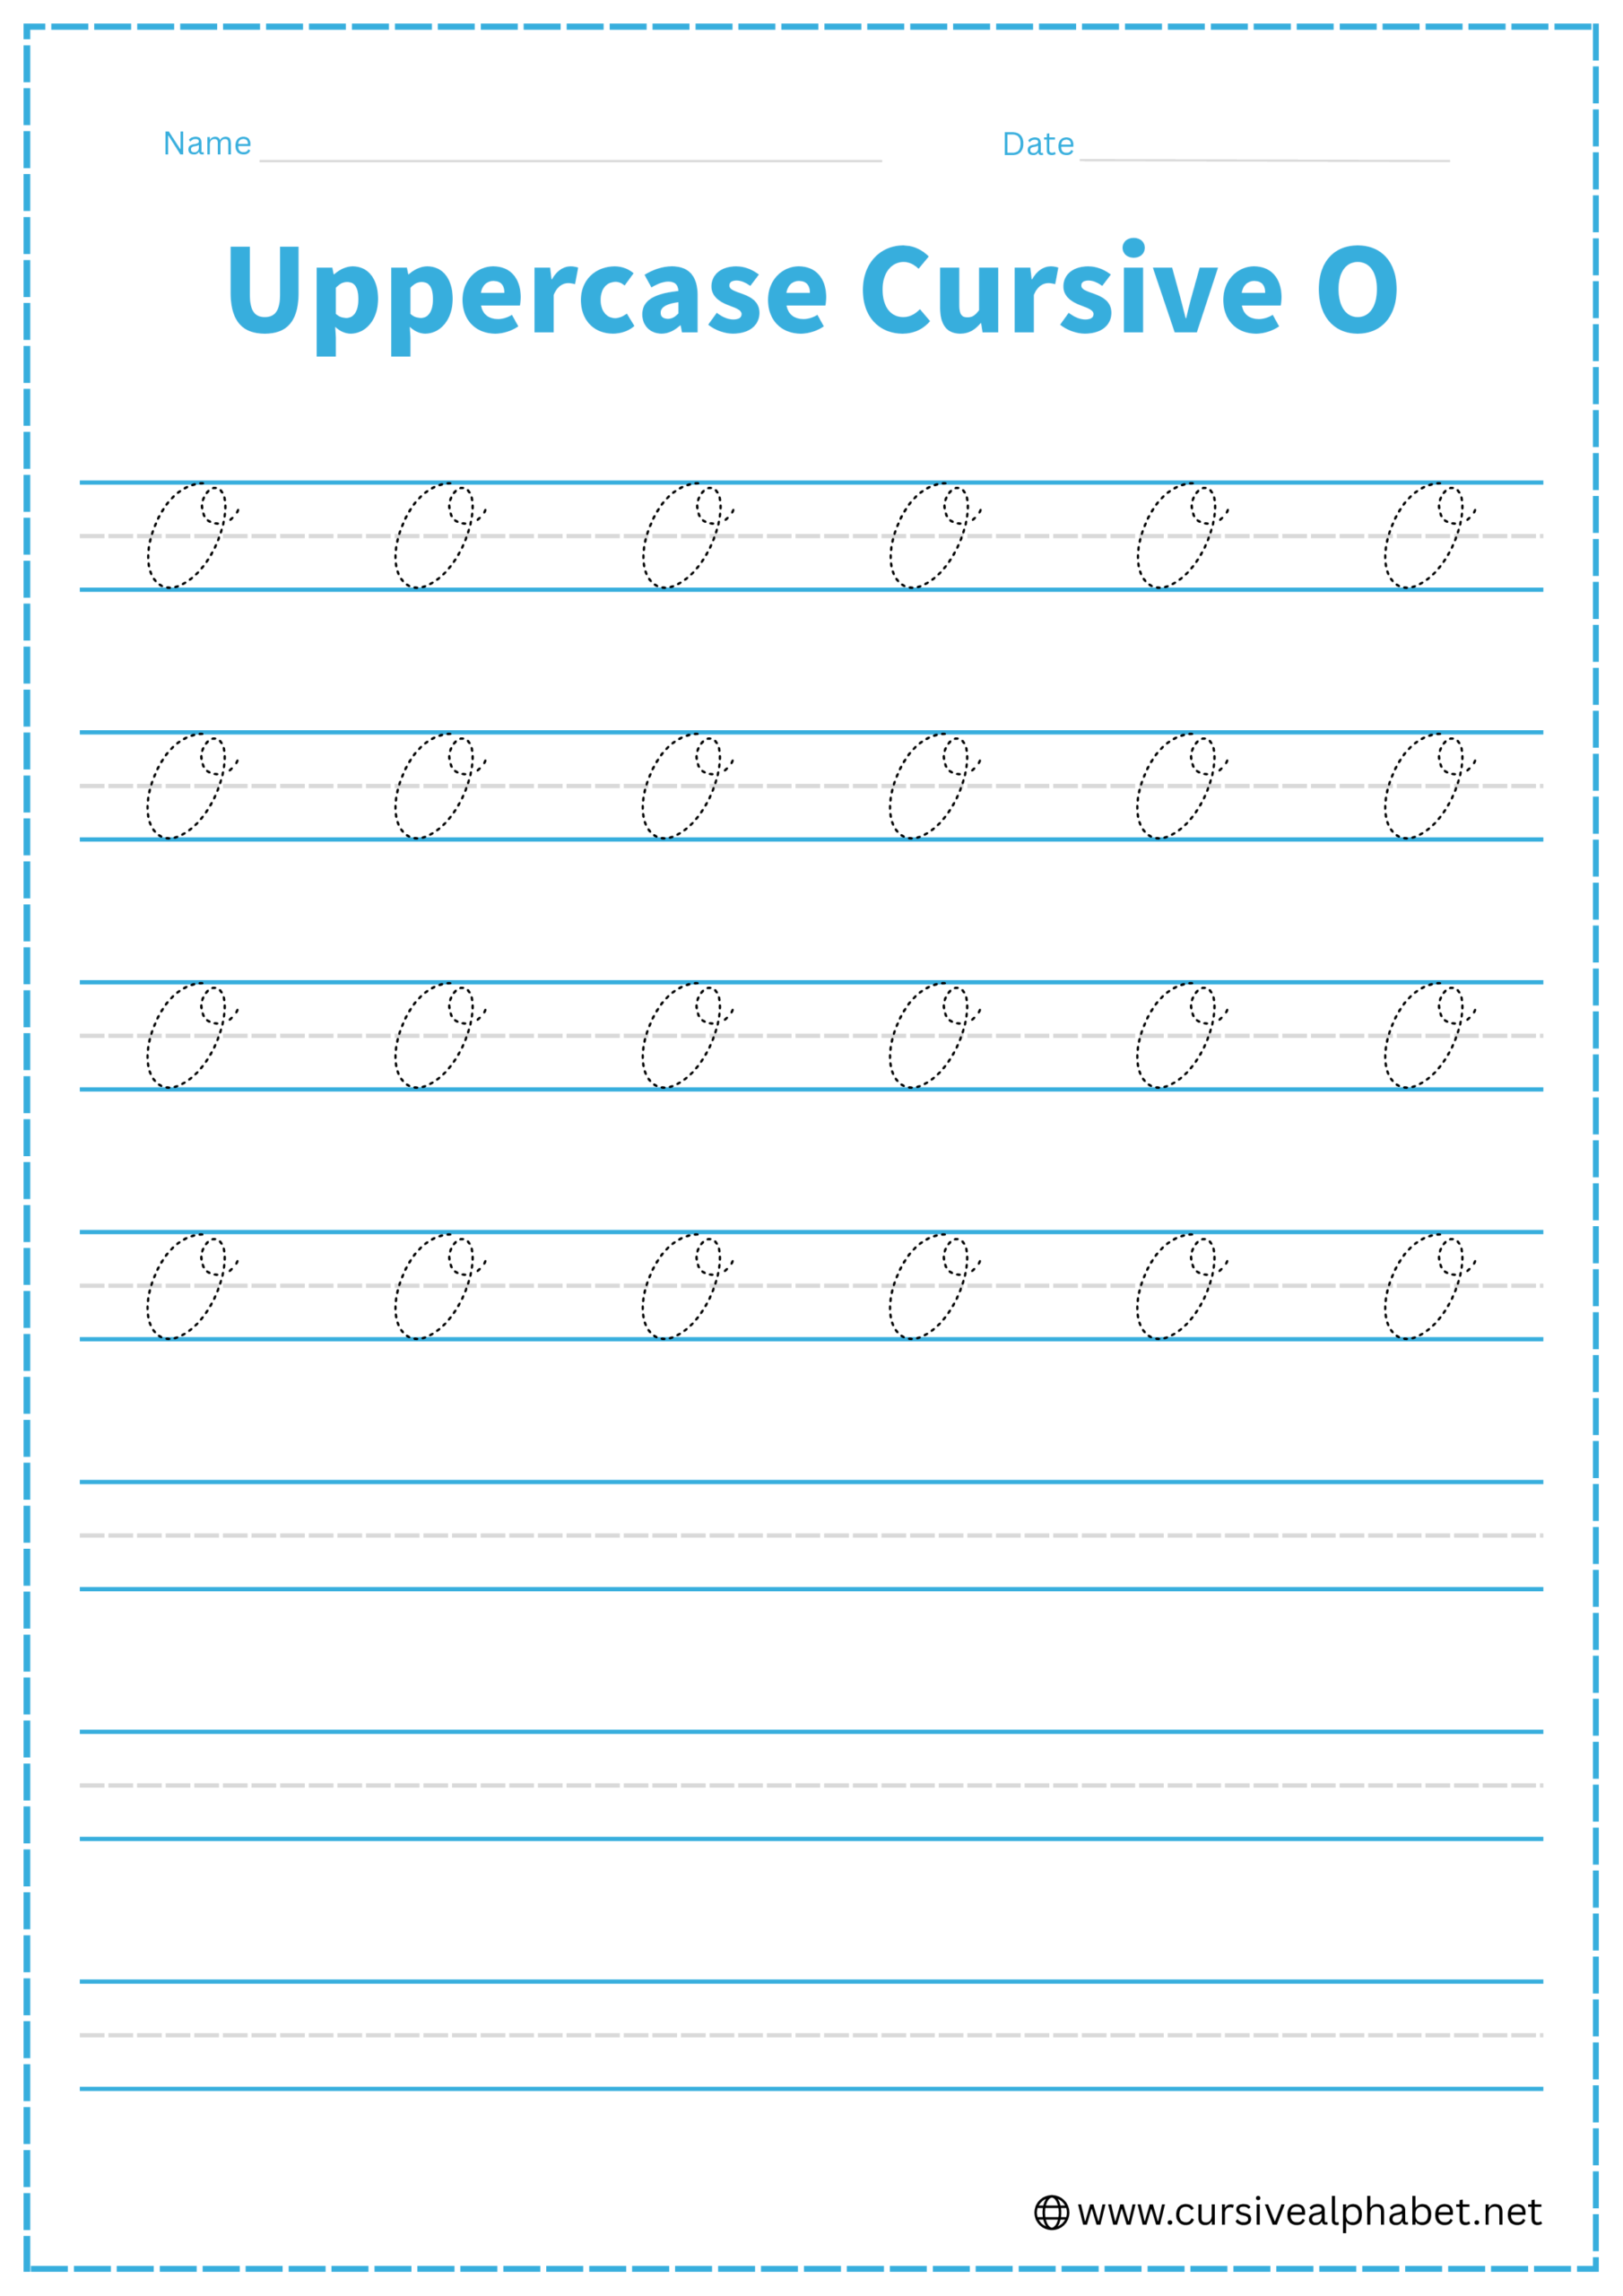
How to Write Uppercase Cursive O
The uppercase O is a large, elegant loop that fills the space from the top line to the bottom baseline.
- Start at the top line and sweep down to the left in a wide, smooth oval.
- Touch the bottom baseline and curve back up toward the top.
- When you return to the top line, continue the stroke inward to create a small, graceful loop or a simple overlap.
- Most uppercase Os do not connect to the next letter; you simply lift your pen after completing the top loop.
Common Mistakes to Avoid
Lowercase Cursive O
- Dropping to the baseline at the end: If you bring the exit stroke down to the bottom, it will look like an a.
- Leaving the circle open: Ensure the oval is fully closed before adding the bridge.
- Making it too narrow: The o should be a rounded, plump oval.
Uppercase Cursive O
- Making it a perfect circle: A slight rightward slant makes the cursive O look much more professional.
- Forgetting the top loop: The little “tuck” at the top is what distinguishes a cursive O from a simple printed zero.
Frequently Asked Questions
The lowercase o uses a “bridge” at the middle dashed line to connect smoothly. This allows it to flow into letters like n, r, or l without lifting your pen.
Typically, the uppercase O does not connect. Most styles finish the top loop and lift the pen, but you can add a small exit stroke if needed for a flowing word.
Avoid making the letter too narrow, leaving the circle open, dropping the exit stroke to the baseline, or skipping the top tuck. Keep it rounded and slightly slanted.
Yes! Free printable worksheets let you trace and write both uppercase and lowercase O, helping you master smooth, rounded, and connected letters.
The bridge ensures that cursive words stay connected. It acts as a transition stroke to the next letter, making your handwriting fluid and elegant.