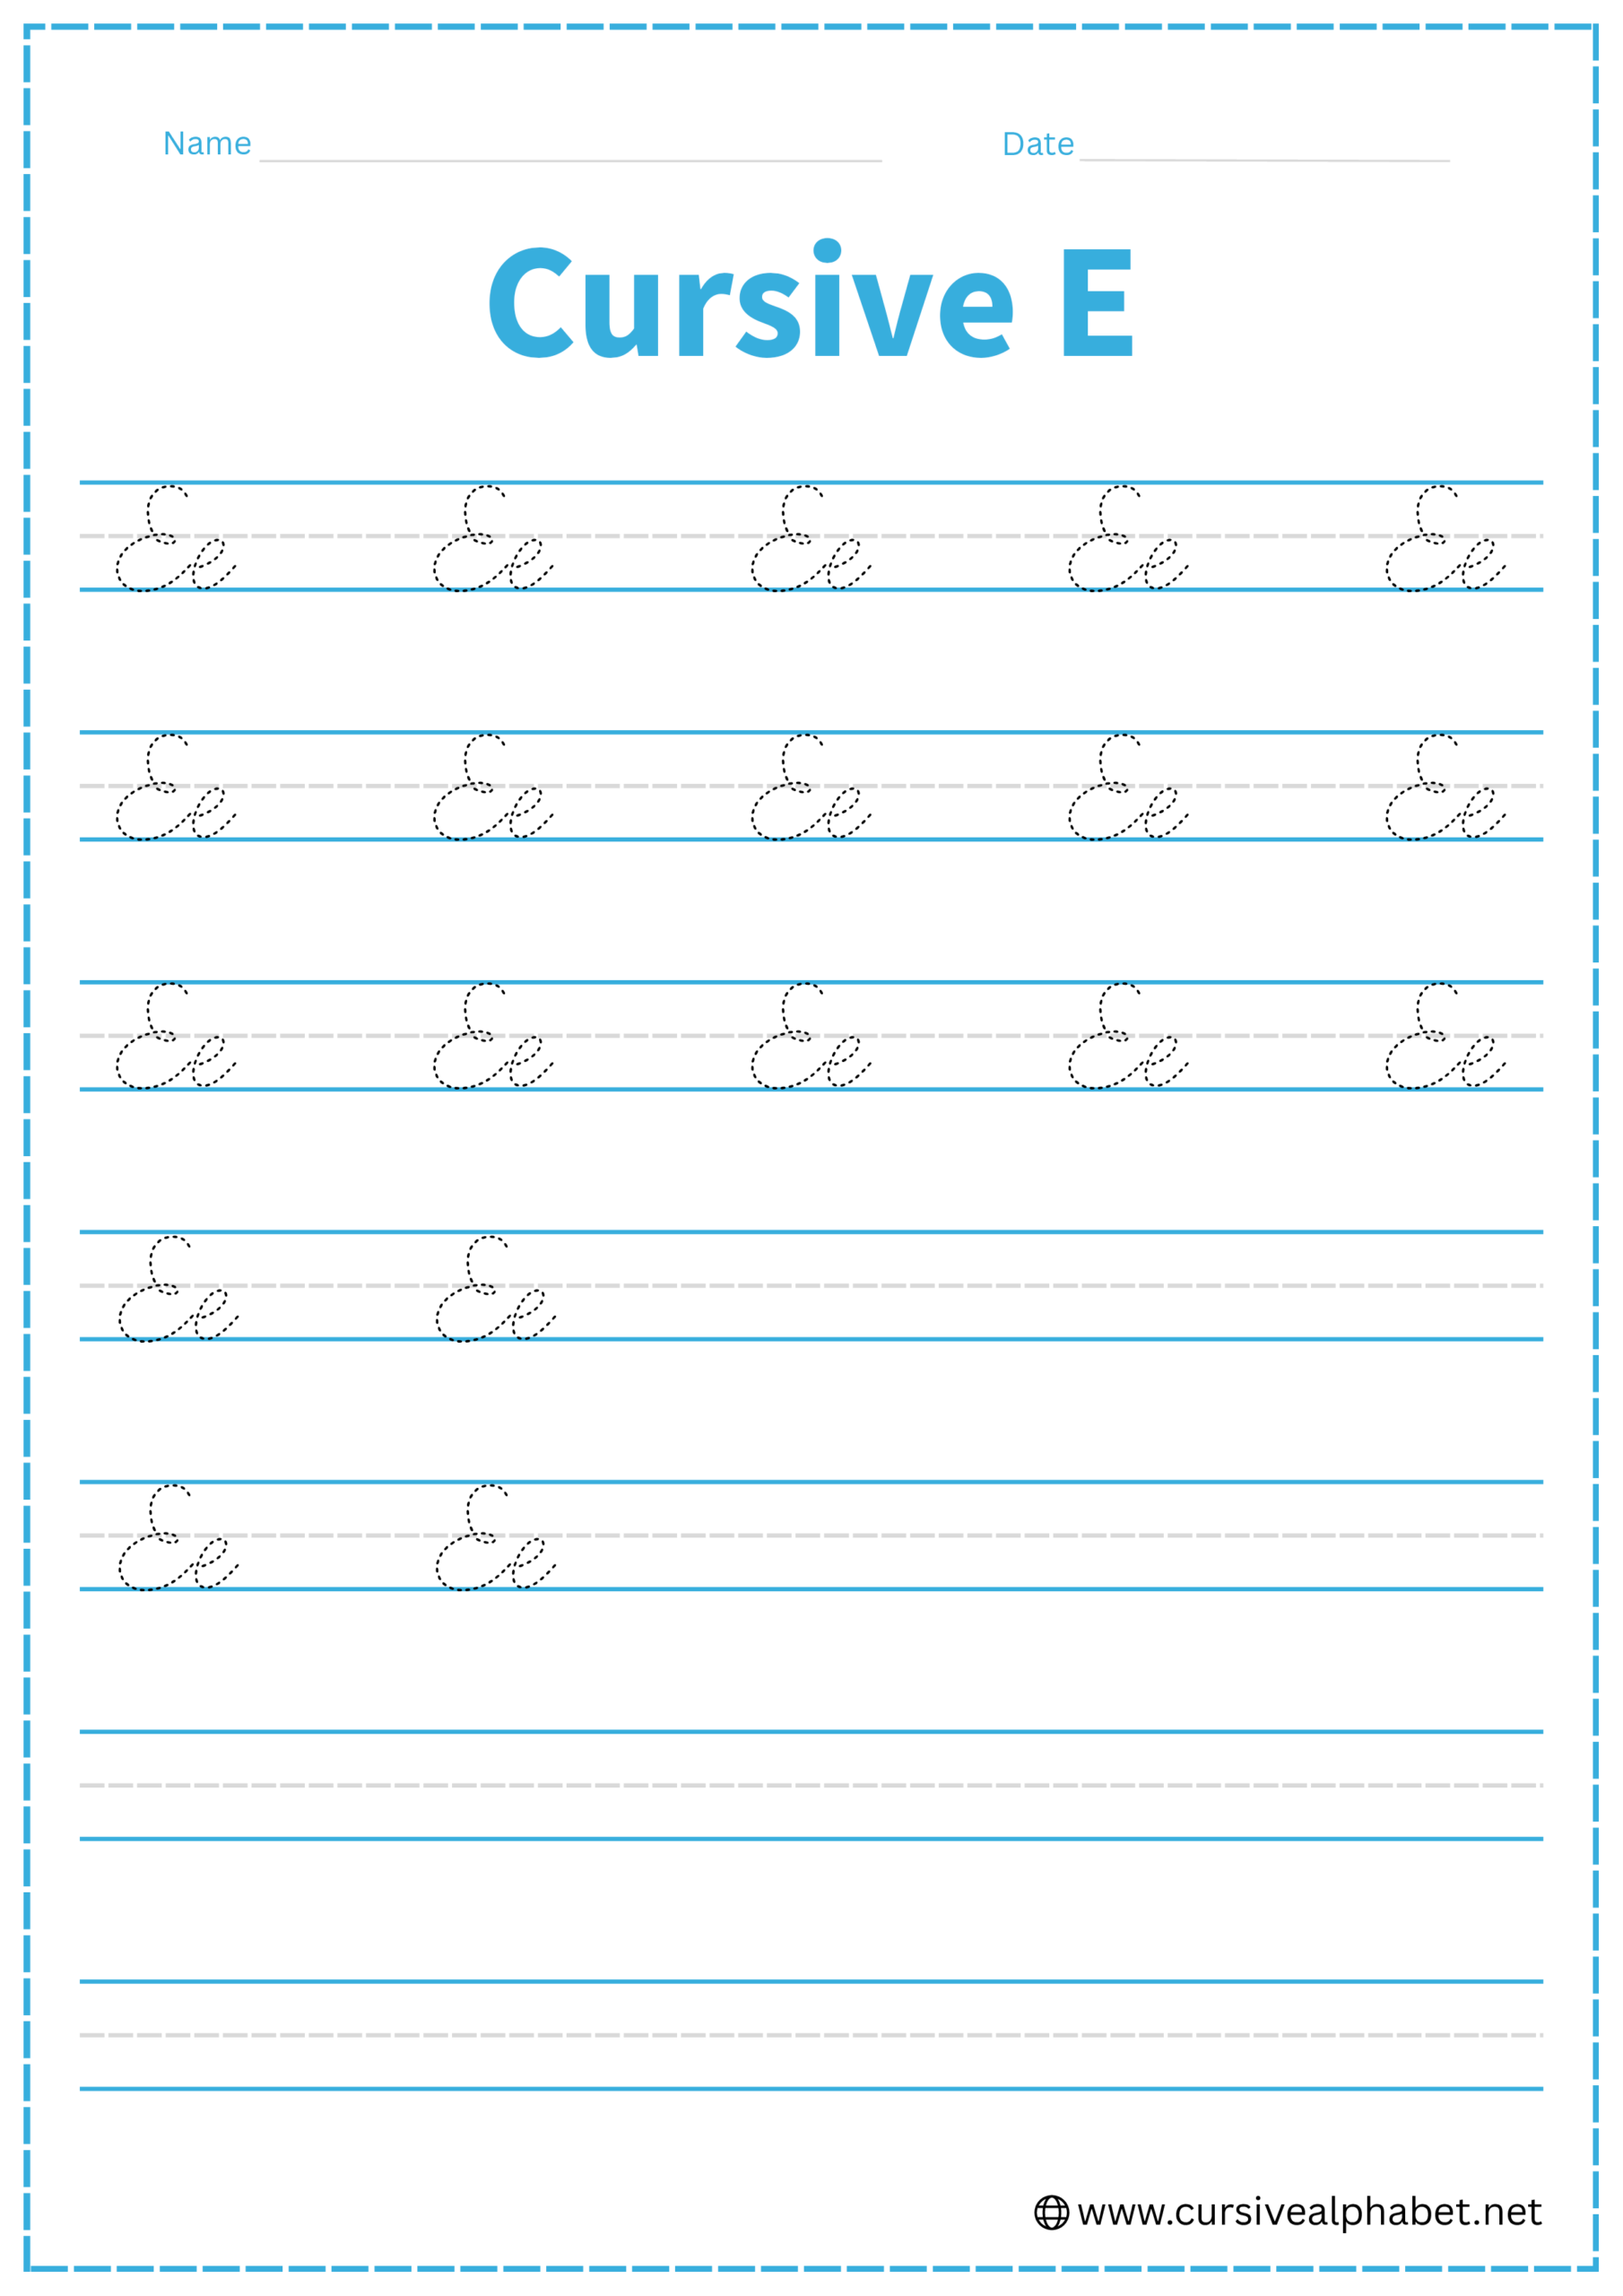
Cursive E
Cursive E is an important letter to learn for beautiful handwriting. Improve your handwriting with cursive E. This guide teaches you how to write both uppercase and lowercase E, and provides free worksheets to practice smooth, flowing letters.
How to Write E in Cursive
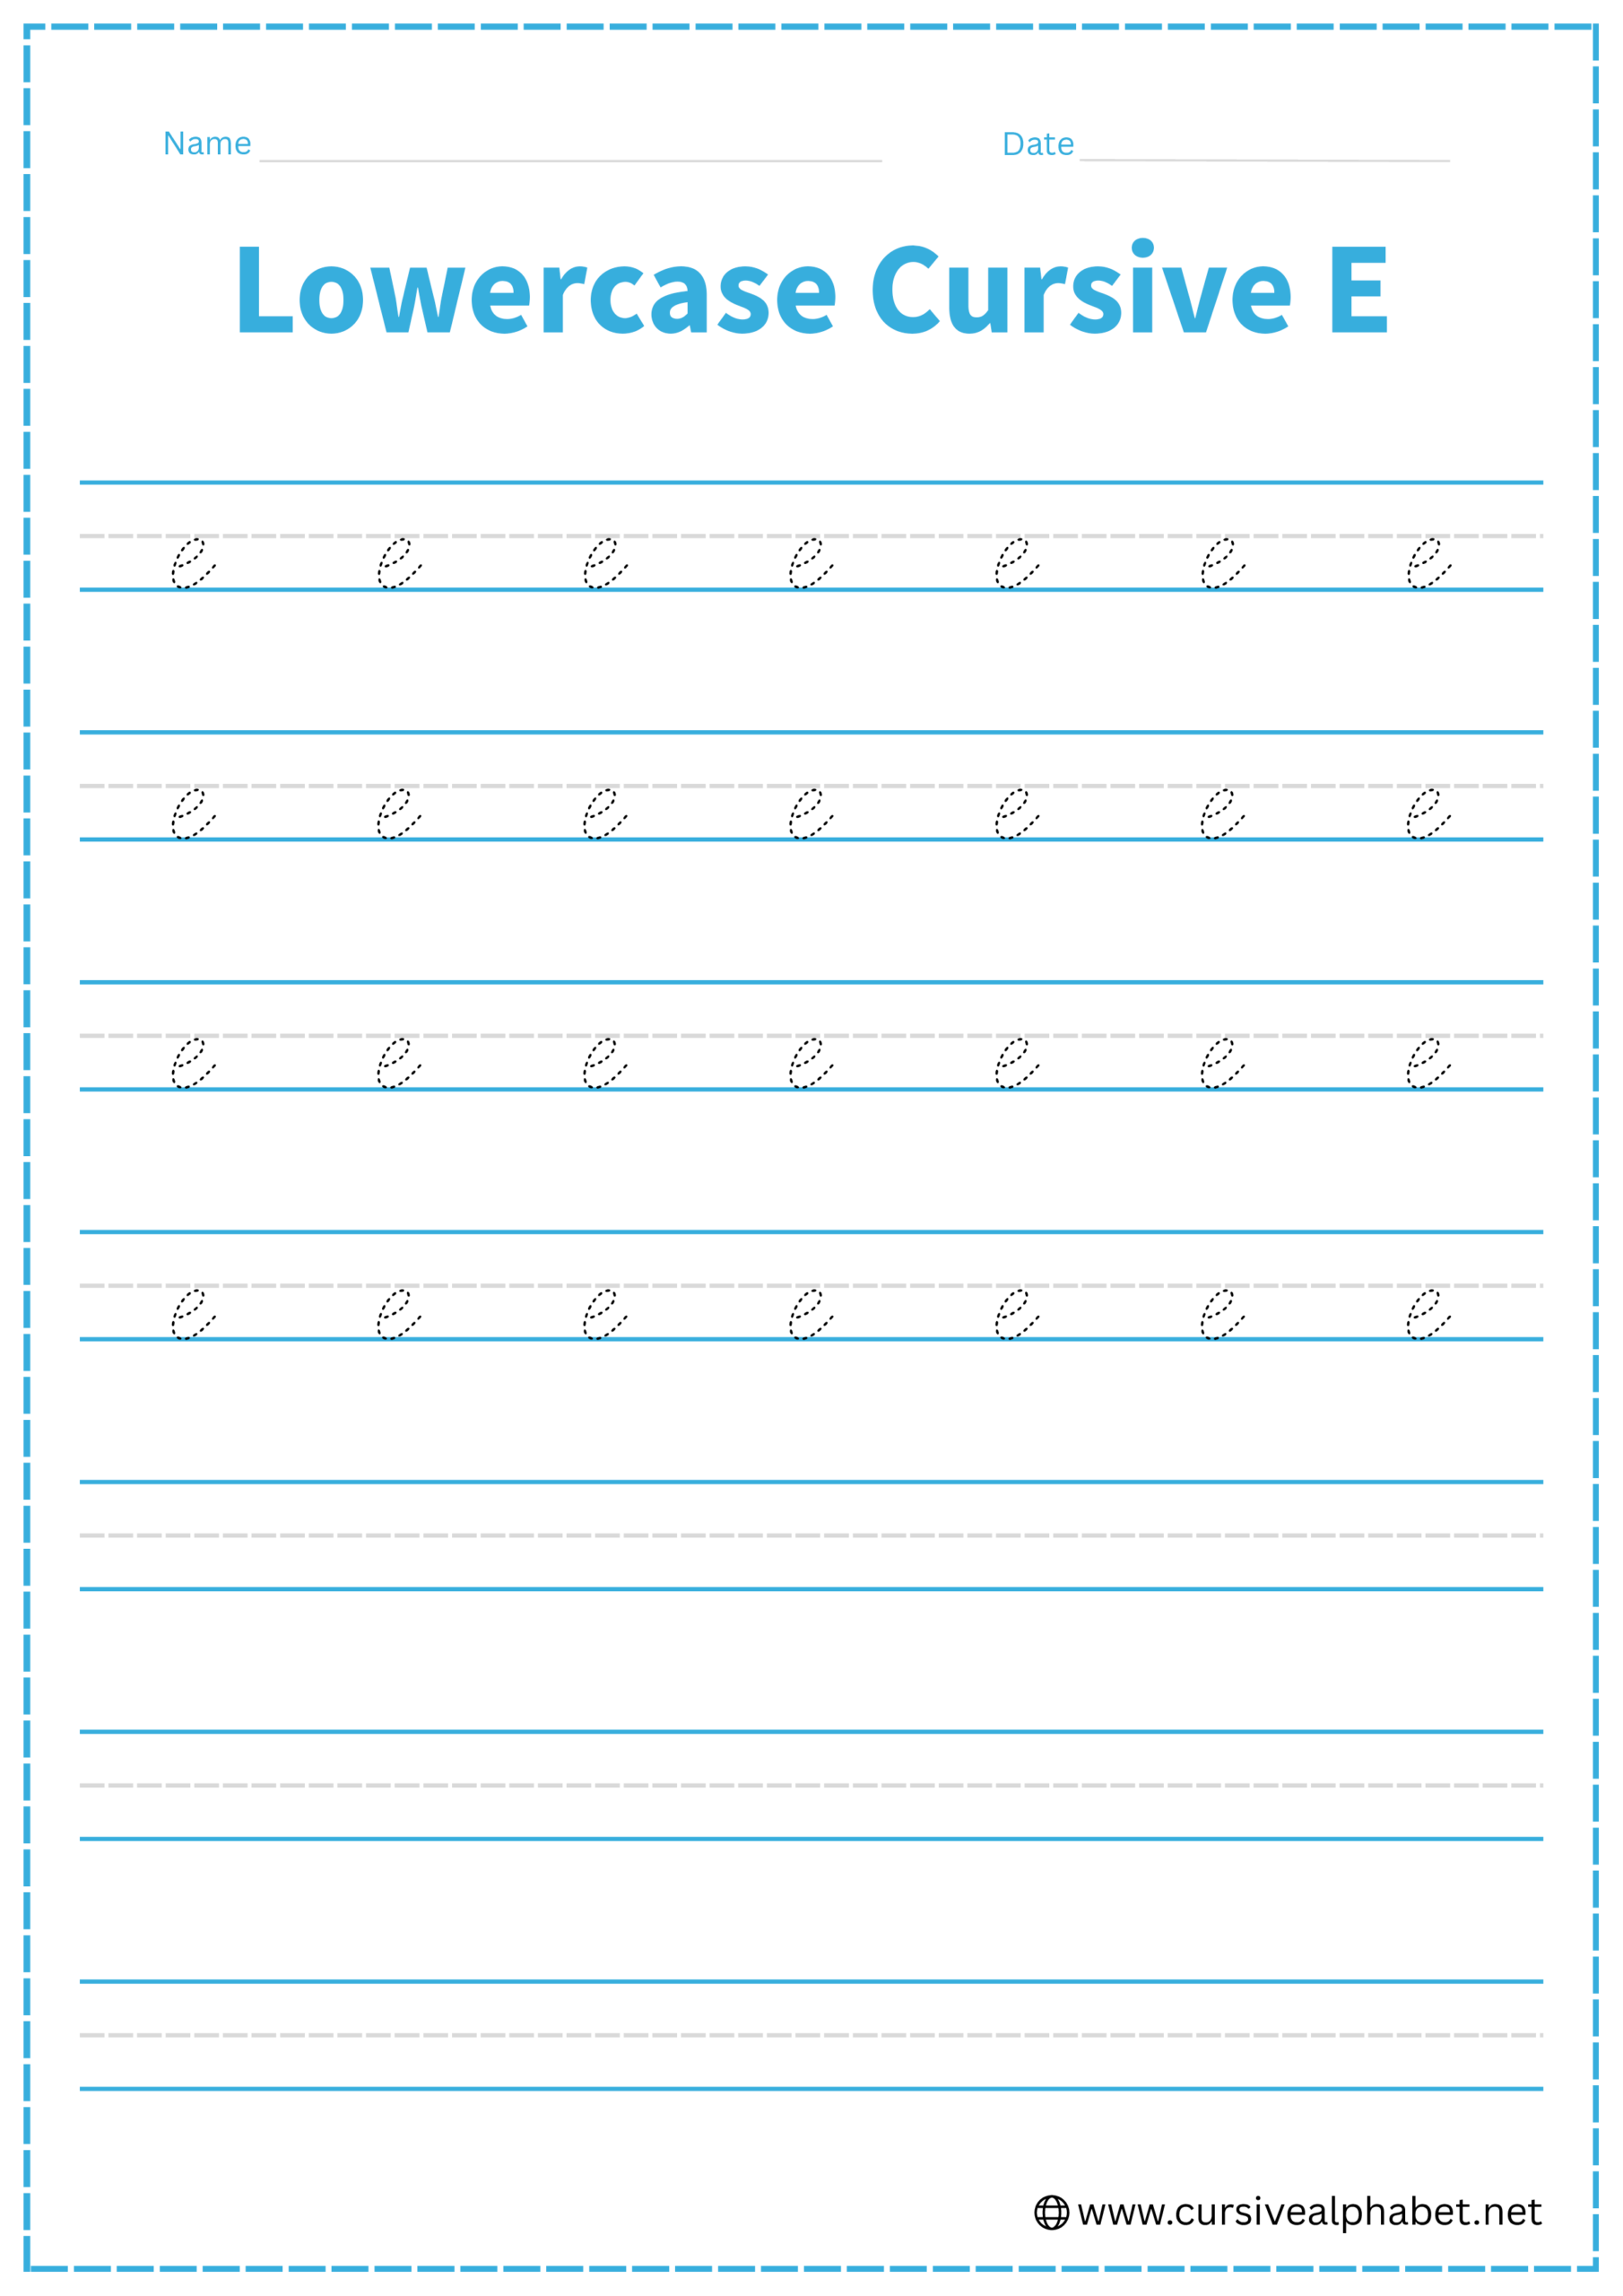
The lowercase cursive e is one of the simplest letters, but its beauty lies in its consistent slant and loop size. It stays entirely between the bottom and middle lines.
How to Write Lowercase Cursive E
- Start with your pen on the bottom baseline and curve upward at a slant toward the middle dashed line.
- As you approach the middle dashed line, curve gently to the left to begin forming a small loop.
- Bring your stroke back down, crossing over your initial upstroke near the bottom baseline.
- Sweep the tail back up to the right, finishing halfway toward the middle dashed line to connect to the next letter.
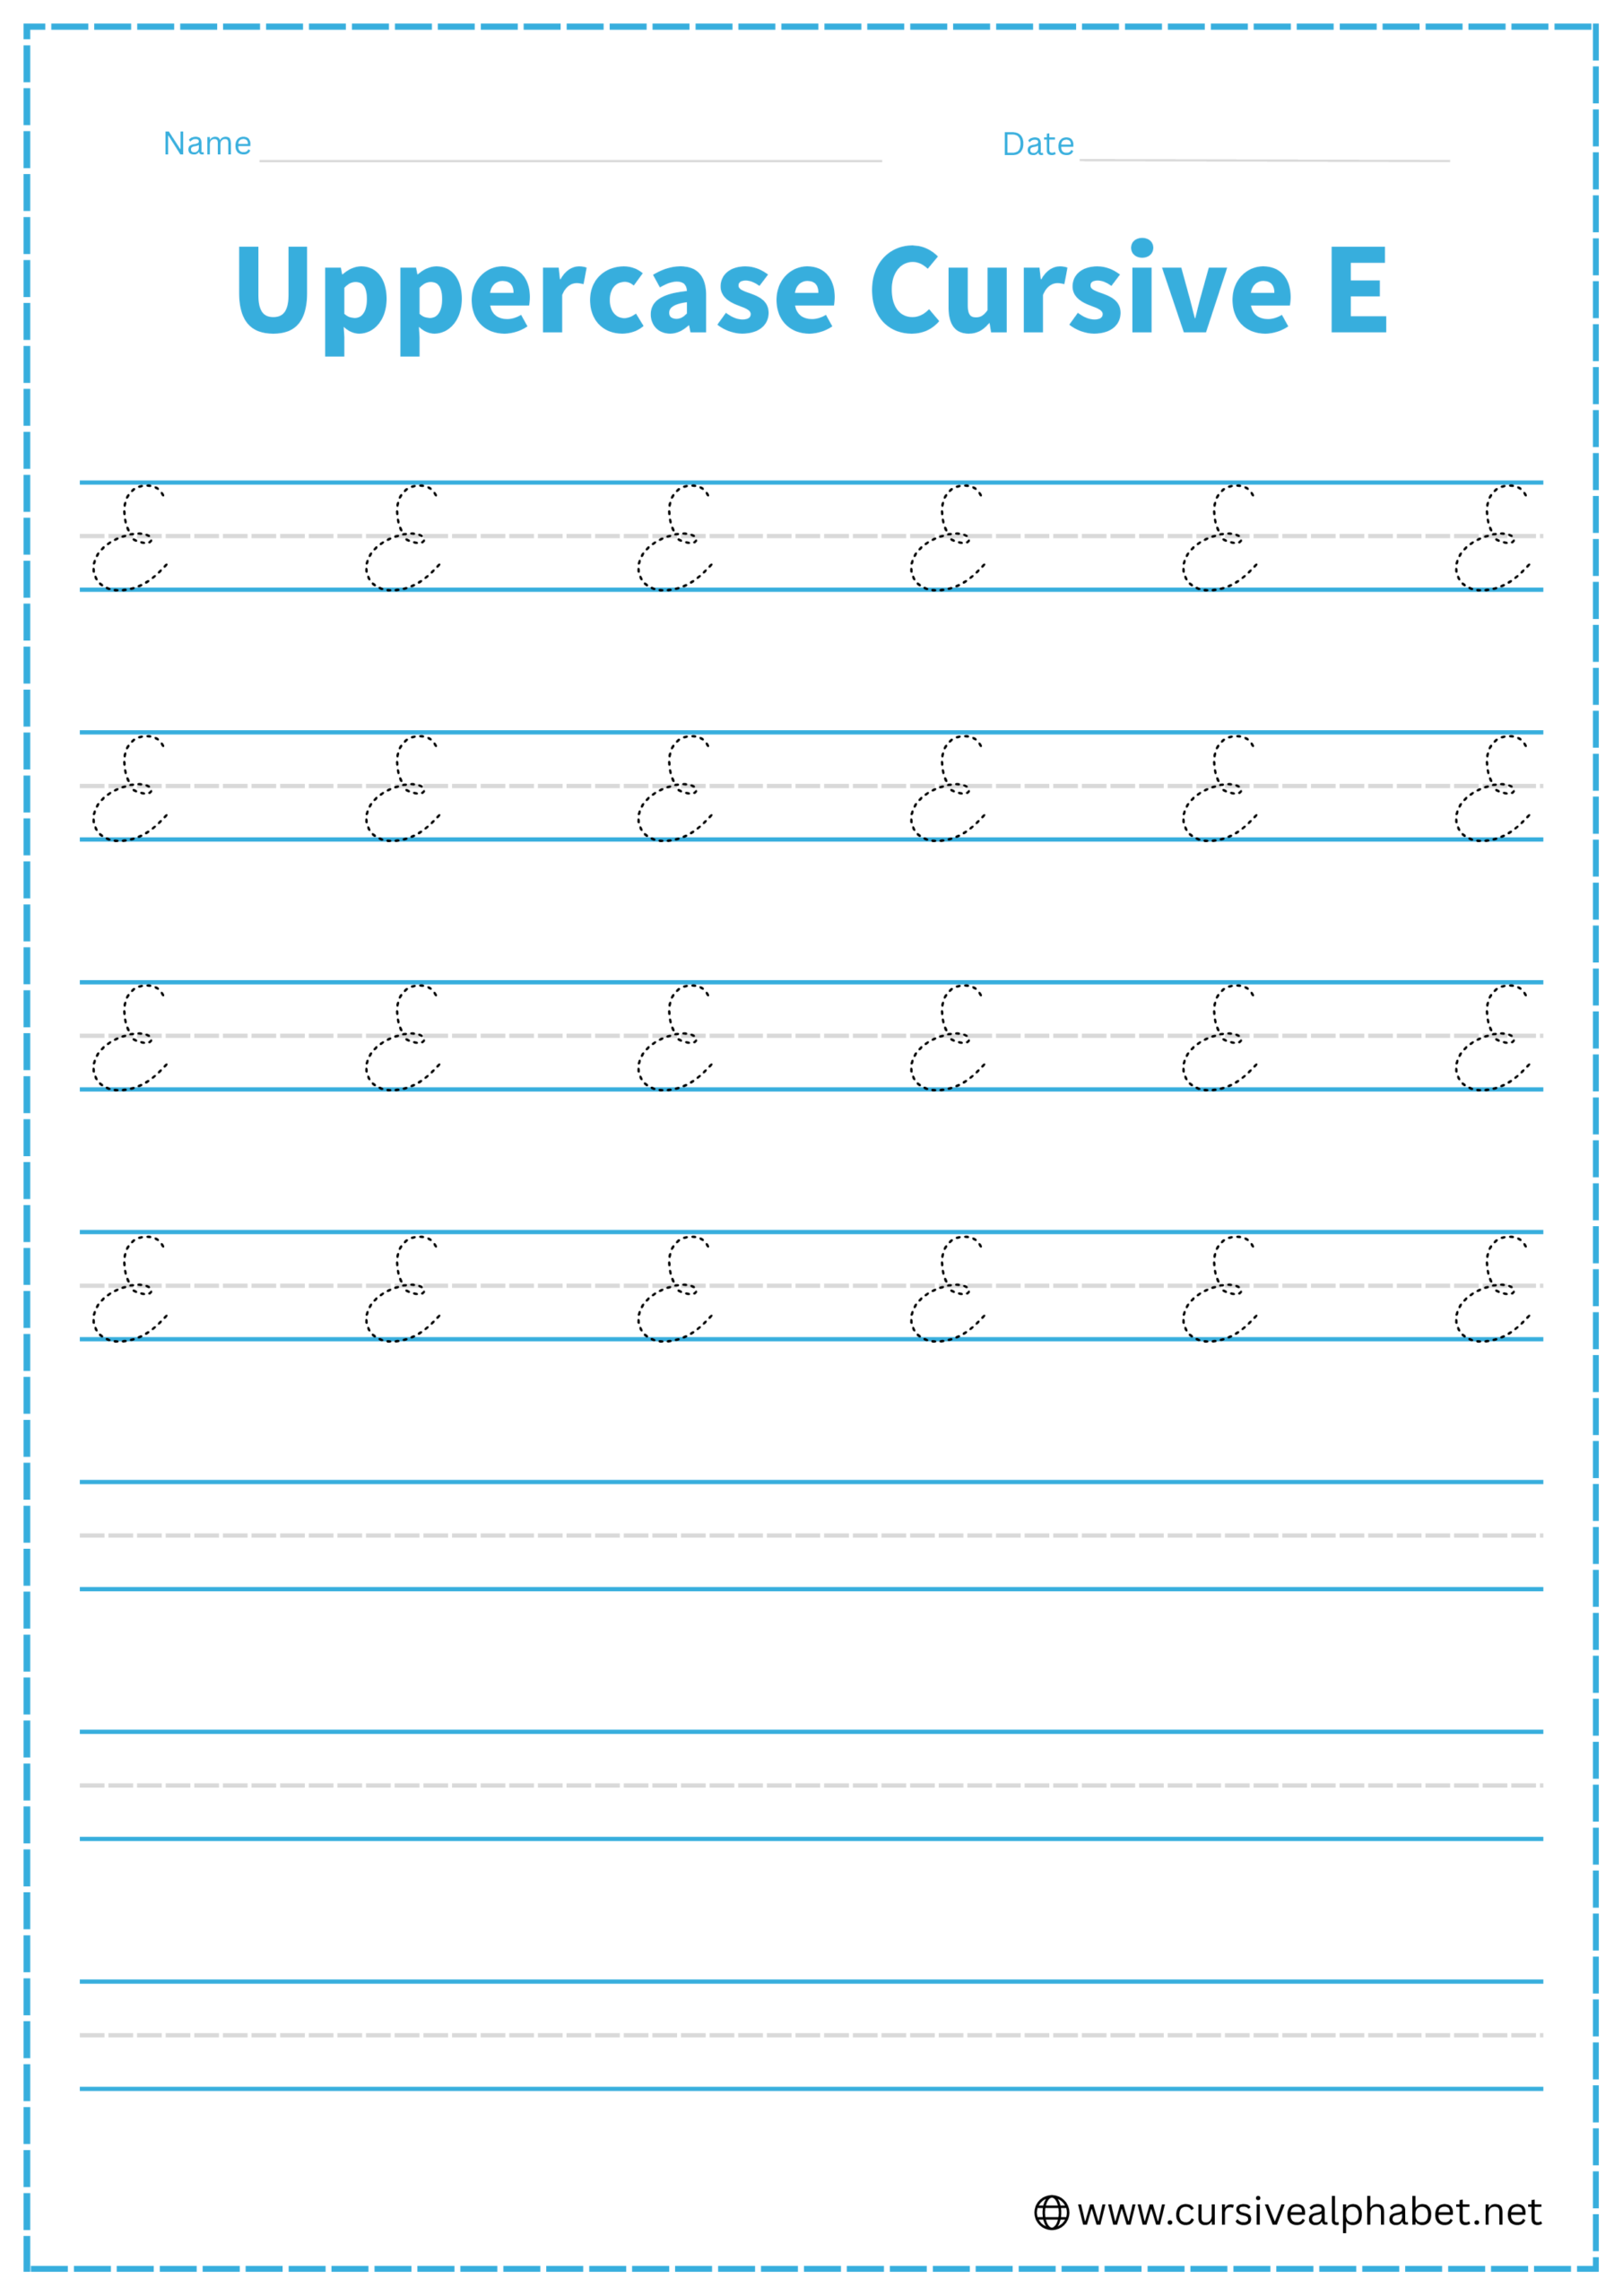
How to Write Uppercase Cursive E
- Start slightly below the top line, curve up to touch it, and loop around to the left.
- Curve back to the right and down to the middle dashed line, creating a rounded semi-circle.
- At the middle dashed line, make a tiny inward loop (a “knot”) to separate the top and bottom halves.
- Sweep out and down to the right, creating a larger rounded curve that touches the bottom baseline.
- Finish by curving the tail slightly upward, stopping halfway to the middle dashed line.
Common Mistakes to Avoid
Lowercase Cursive E
- Filling in the loop by making it too tight or narrow.
- Reaching above the middle dashed line instead of staying within the lower half of the paper.
- Crossing the lines too high which makes the letter look like a lowercase l.
- Failing to touch the bottom baseline with the rounded bottom of the loop.
- Making the loop perfectly vertical instead of maintaining a consistent rightward slant.
Uppercase Cursive E
- Starting the initial loop at the bottom instead of the top line.
- Making the top loop larger than the bottom instead of the other way around.
- Failing to touch the middle dashed line with the center knot of the letter.
- Leaving the bottom belly flat rather than rounded and resting on the baseline.
- Crossing the exit stroke back through the letter instead of pointing it toward the next connection.
Frequently Asked Questions
Not at all! The lowercase e is actually one of the simplest letters to learn because it consists of a single, fluid loop. The uppercase E is slightly more complex due to the “middle knot,” but it follows a motion very similar to writing a number 3 in reverse.
You can download our free printable Cursive E worksheets directly from this page. They include guided tracing lines for both uppercase and lowercase versions to help you build muscle memory.
The most frequent error is crossing the lines too high. If you cross the stroke too far up, the letter begins to look like a lowercase l. Ensure your loop stays within the bottom and middle dashed lines.
Use the exit stroke. As you finish the lower loop of the uppercase E, sweep the tail slightly upward toward the middle line. This “tail” serves as the bridge to the following letter in the word.
This usually happens when the bottom of the letter doesn’t quite touch the baseline. Make sure the “belly” of both the uppercase and lowercase E rests firmly on the bottom line to give the letter proper height and bounce.
If your loops look like solid blobs, you are likely making them too narrow. Try widening your curve slightly and maintaining a consistent rightward slant to keep the center of the loop open and clear.
Ideally, no. For a balanced, classic look, the bottom loop should be slightly larger than the top loop. Think of it like a pyramid a wider base provides more visual stability.