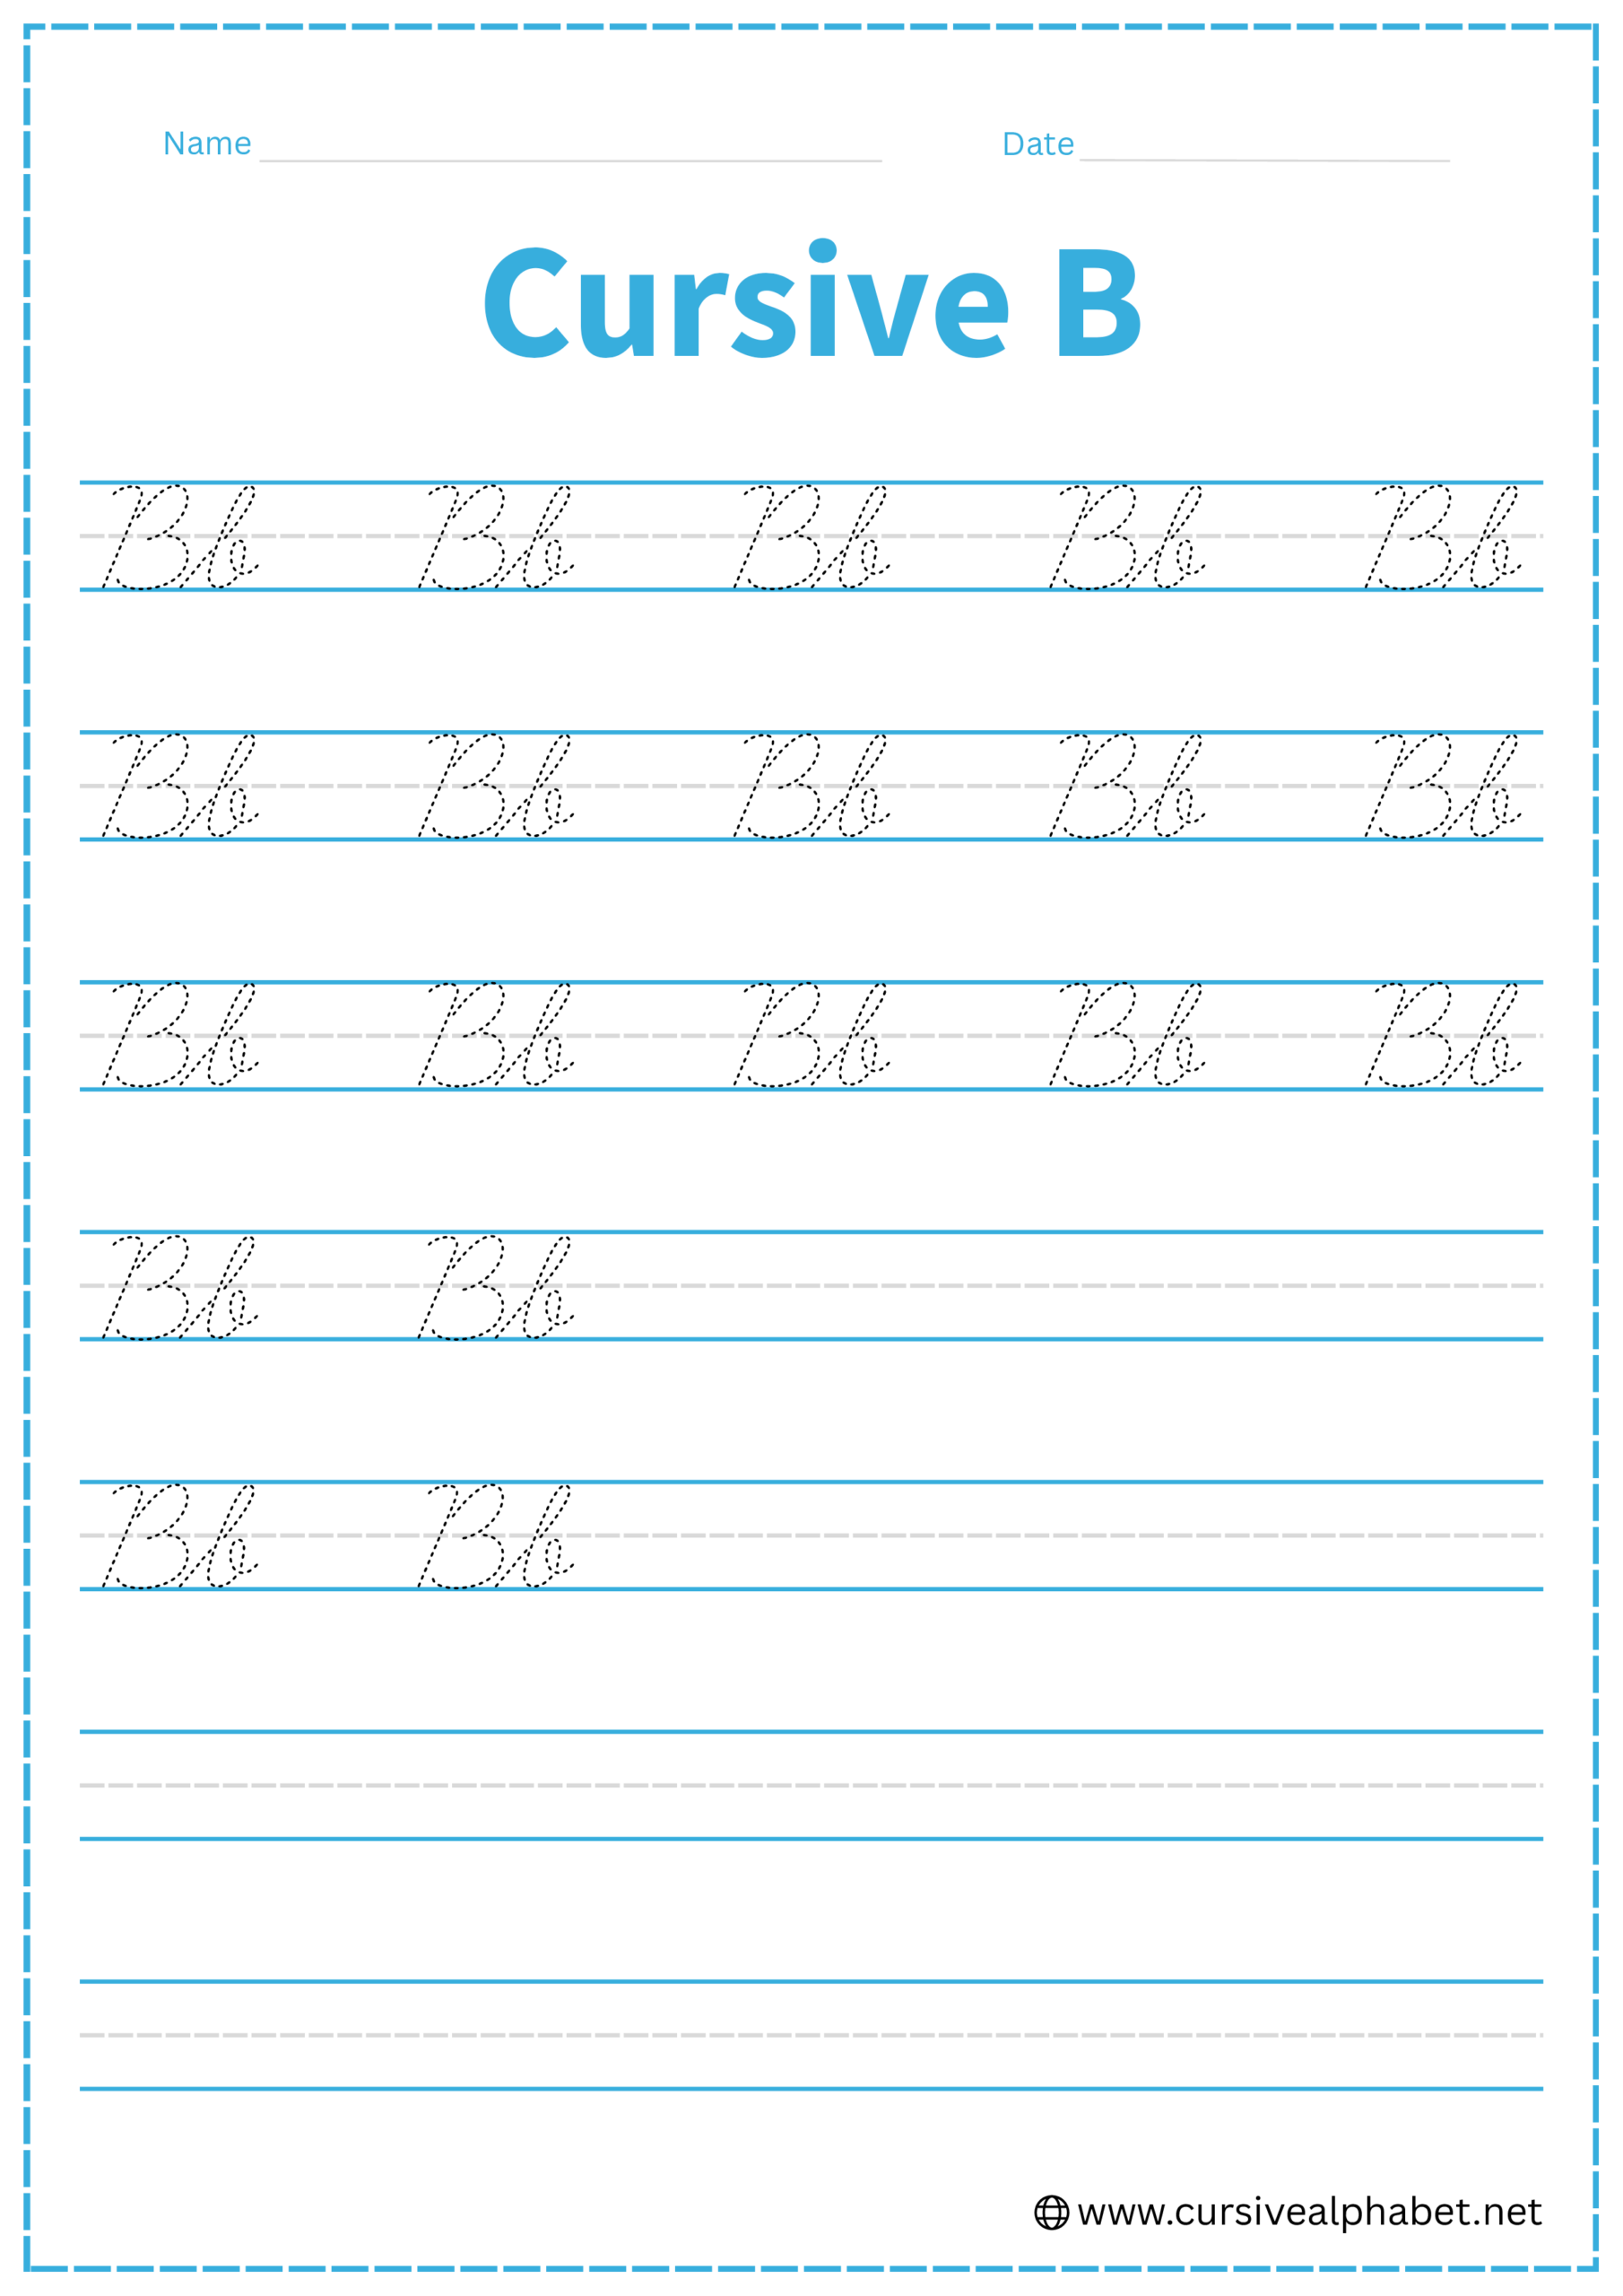
Cursive B
Learning the cursive B helps you continue building strong cursive writing skills. On this page, you’ll learn how to write both uppercase and lowercase cursive B using simple, step-by-step instructions. Download free printable cursive worksheets to trace and practice cursive letter B. Practice with our cursive B worksheets to improve your cursive handwriting and develop smooth, flowing strokes.
How to Write B in Cursive
Writing cursive B is easier than it seems! With a few simple steps, you can master both uppercase and lowercase B, creating smooth, connected, and elegant letters.
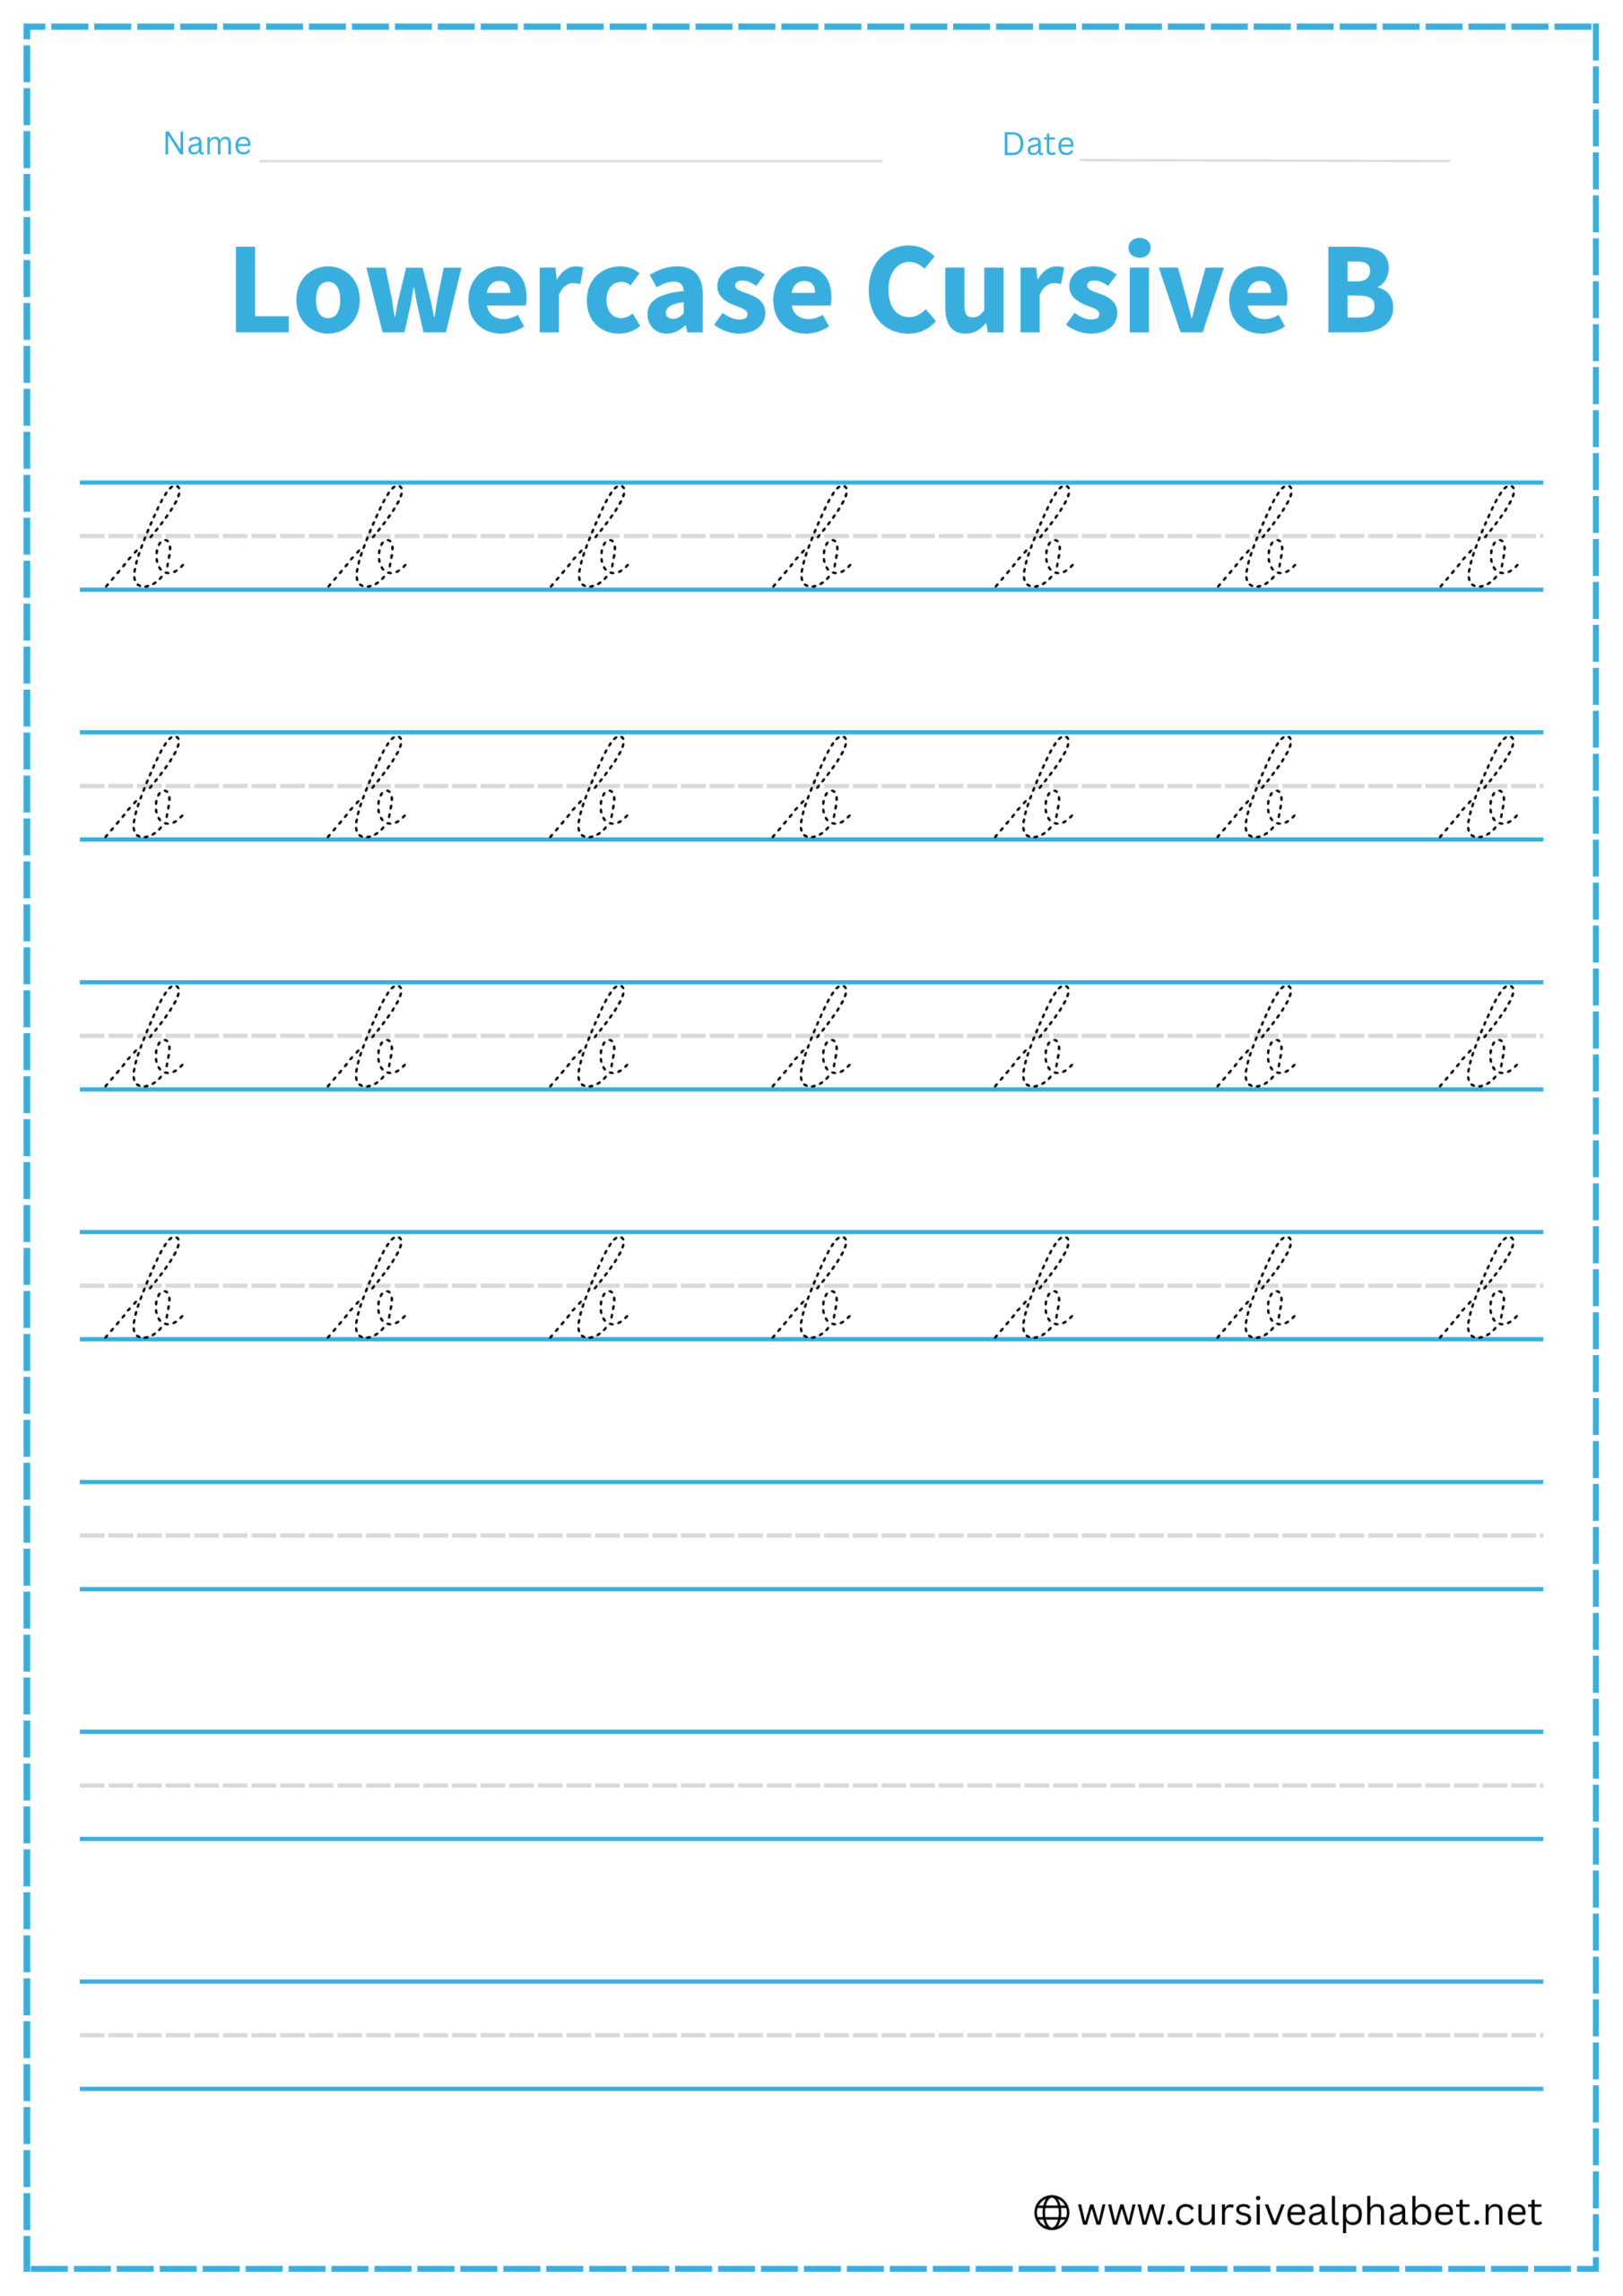
How to Write Lowercase Cursive B
Follow these simple steps to write lowercase cursive b:
- Place your pen on the bottom baseline. Sweep upward at a diagonal slant toward the top line.
- When you touch the top line, curve slightly to the left and start heading back down. This creates the “head” of the letter.
- Bring your pen straight down toward the bottom baseline. Your line should cross the initial upstroke right around the middle dashed line.
- Once you touch the bottom baseline, curve back up to the right (similar to the bottom of a “u”).
- Stop when your curve reaches the middle dashed line. Instead of closing the circle, pull a short, sharp horizontal stroke to the right. This “bridge” stays at the midline and is used to connect to the next letter.
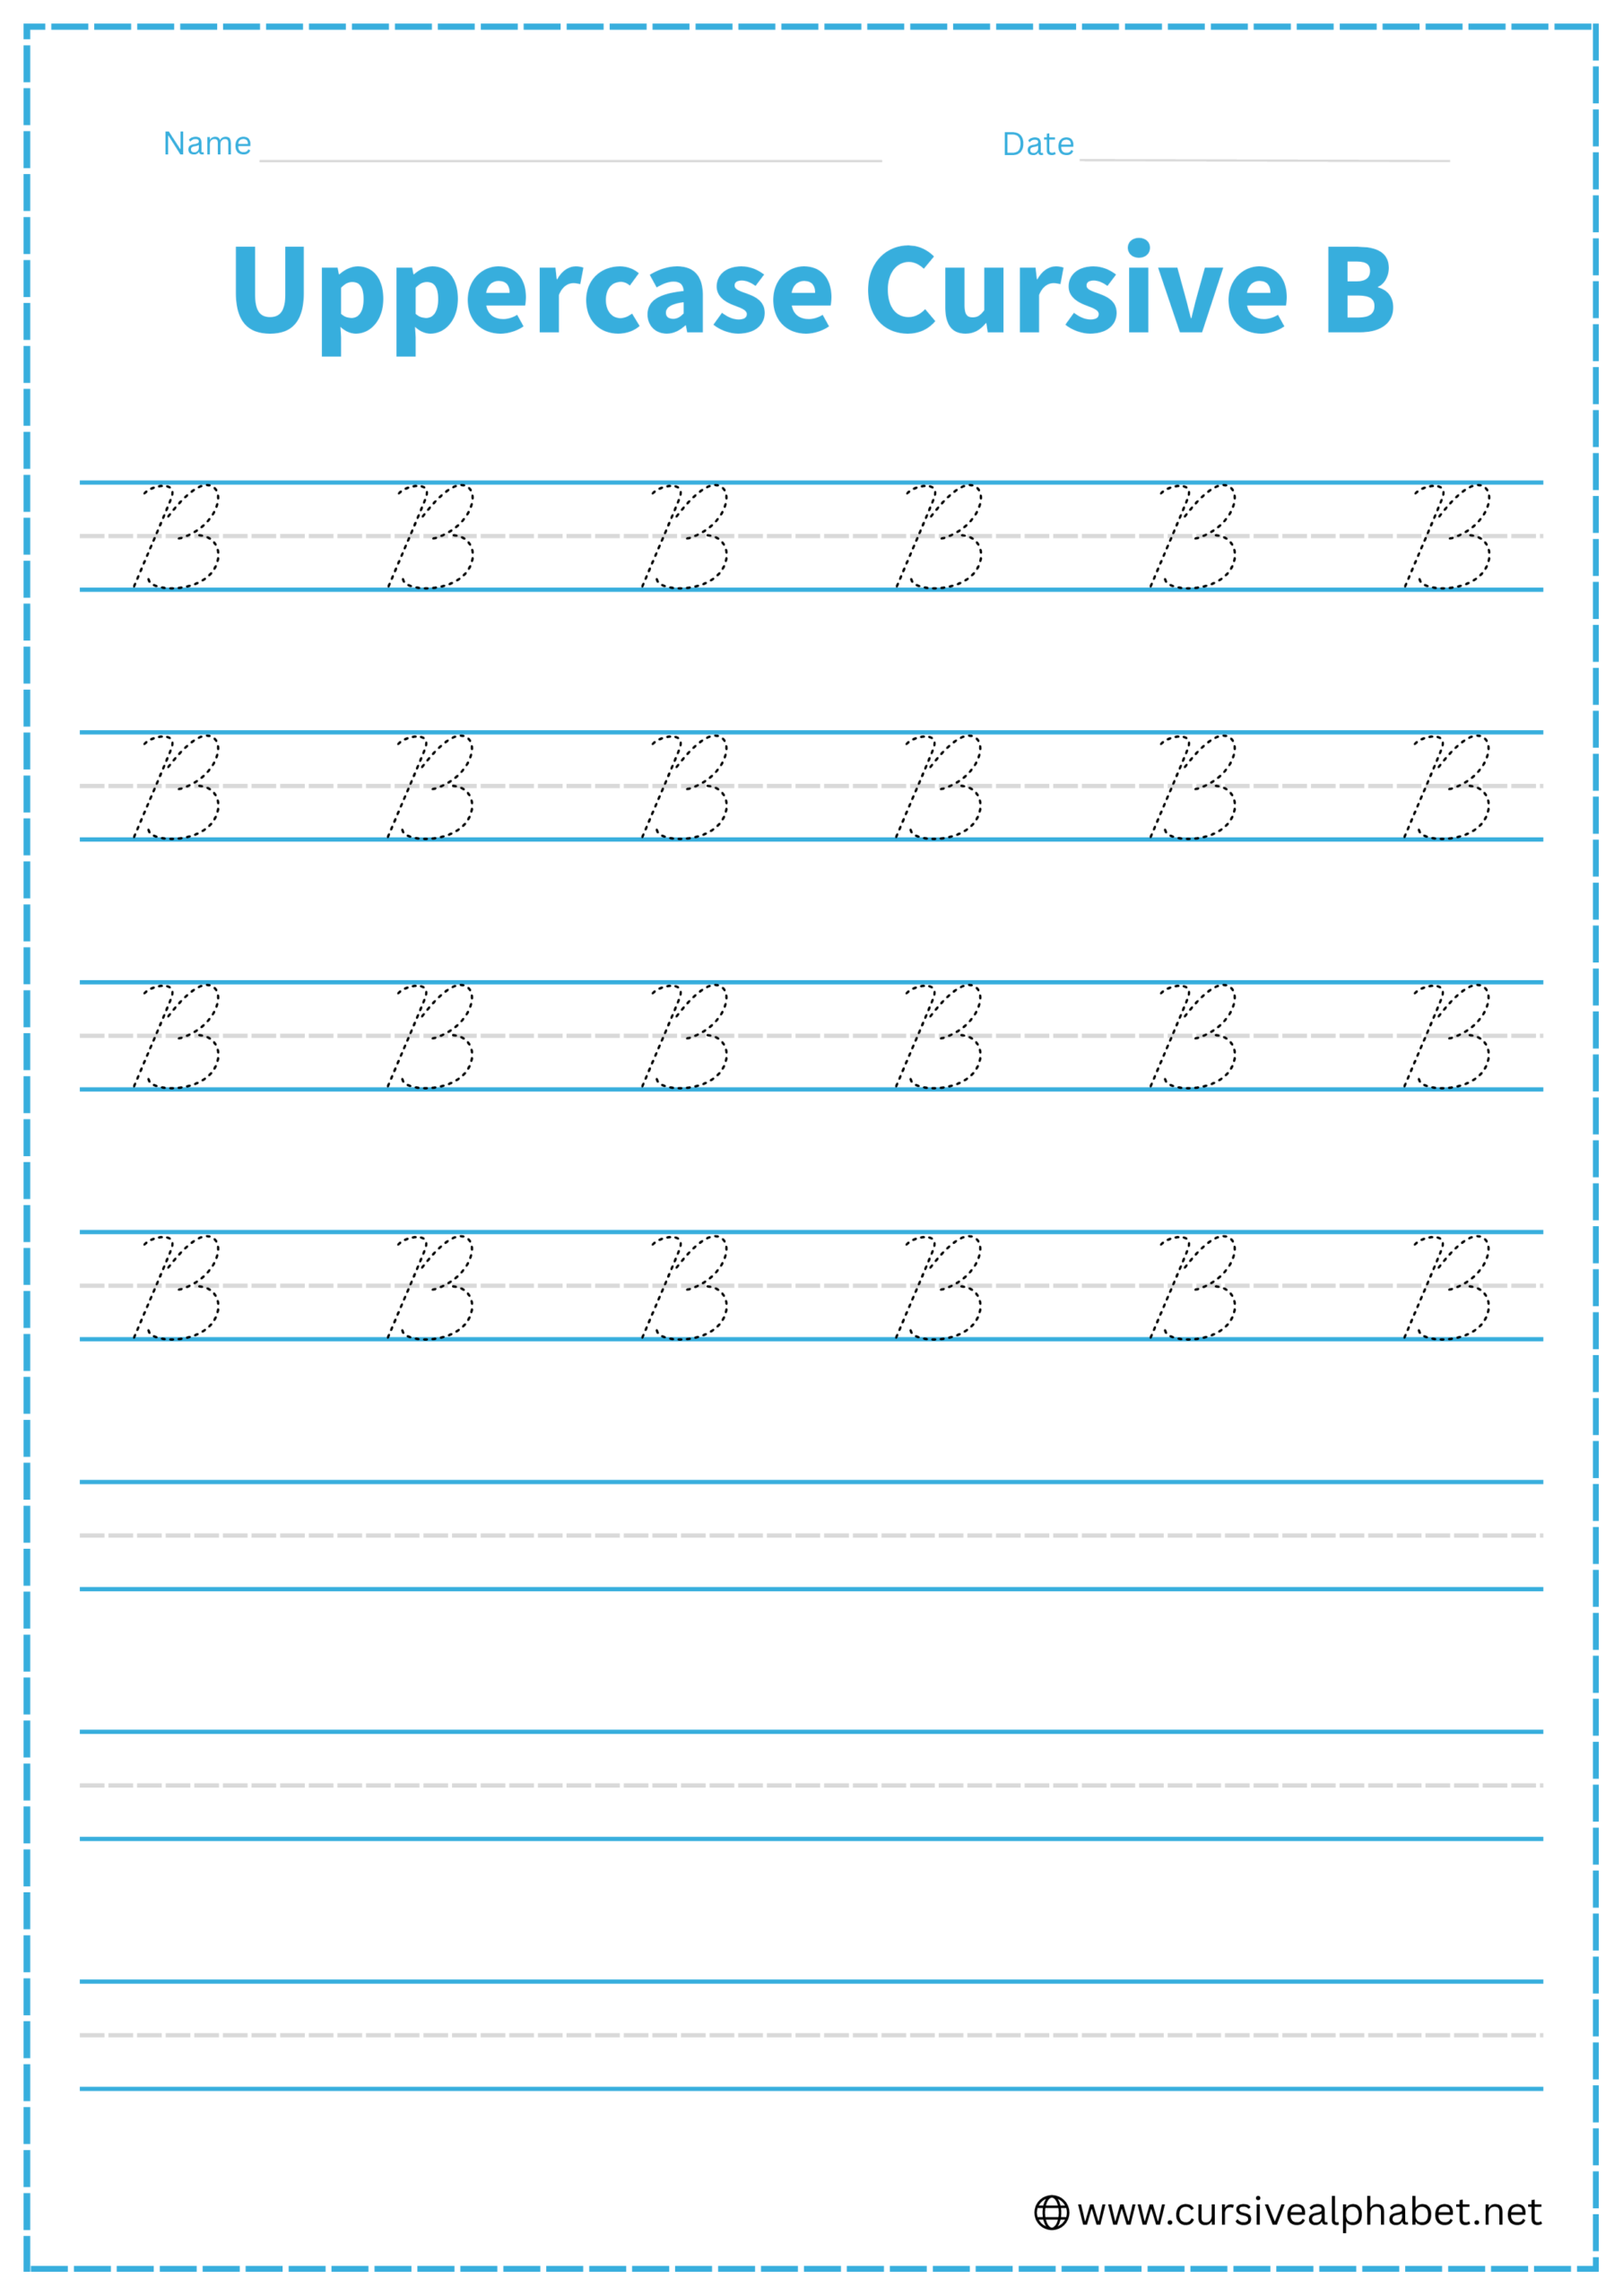
How to Write Uppercase Cursive B
Follow these simple steps to write the uppercase cursive letter B.
- Start slightly below the top line, draw a straight slanted line down to the bottom baseline, and finish with a tiny curl to the left.
- Lift your pen (or retrace up) to the top line to begin the right-side curves.
- Curve out to the right and back in toward the middle dashed line, touching the top line along the way.
- Create a tiny horizontal loop (a “knot”) right at the middle dashed line before starting the second curve.
- Curve out again to the right, touch the bottom baseline, and swing the tail slightly inward to finish.
Common Mistakes to Avoid
Lowercase Cursive B
- Leaving a gap in the middle dashed line instead of closing the oval completely.
- Looping the top of the letter rather than retracing the initial stroke.
- Failing to touch the bottom baseline with the final downward tail.
- Making the letter a perfect circle instead of a slanted oval shape.
- Stopping the final flick too early instead of extending it toward the midline for the next connection.
Uppercase Cursive B
- Crossing the middle dashed line with the top loop instead of stopping at it.
- Leaving the bottom belly flat instead of rounded and resting on the baseline.
- Forgetting the middle “knot” which helps distinguish it from a printed B.
- Making the top and bottom loops the same size instead of the bottom being slightly larger.
- Starting the initial stem at the bottom instead of the top.
Frequently Asked Questions
Use a three-lined worksheet and follow the step-by-step guide: start at the bottom baseline, sweep upward, loop at the top, descend straight down, curve at the bottom, and add the midline bridge to connect to the next letter.
Start slightly below the top line, draw a straight slanted stem to the bottom, create the top loop, add the midsection “knot,” form the bottom belly, and finish with a small inward tail for smooth connections.
Avoid leaving gaps in the midline, making the top loop too large, flattening the bottom belly, skipping the middle knot, or starting the stem from the wrong position. Practice slowly to keep letters neat and balanced.
Yes! Free printable worksheets are available for both uppercase and lowercase cursive B. Trace, write, and practice to improve letter formation, spacing, and smooth connections.
Daily practice or a few short sessions per week is best. Consistent repetition helps develop smooth, flowing strokes and builds confidence in writing both uppercase and lowercase B.