Cursive C
Mastering the cursive C helps you strengthen your cursive handwriting skills. This page teaches both uppercase and lowercase cursive C with step-by-step instructions. Download free worksheets to practice tracing and writing the letter C smoothly and confidently.
How to Write C in Cursive
Learn to write cursive C with simple step-by-step instructions. Master both uppercase and lowercase C, creating smooth, flowing letters for neat and elegant handwriting.
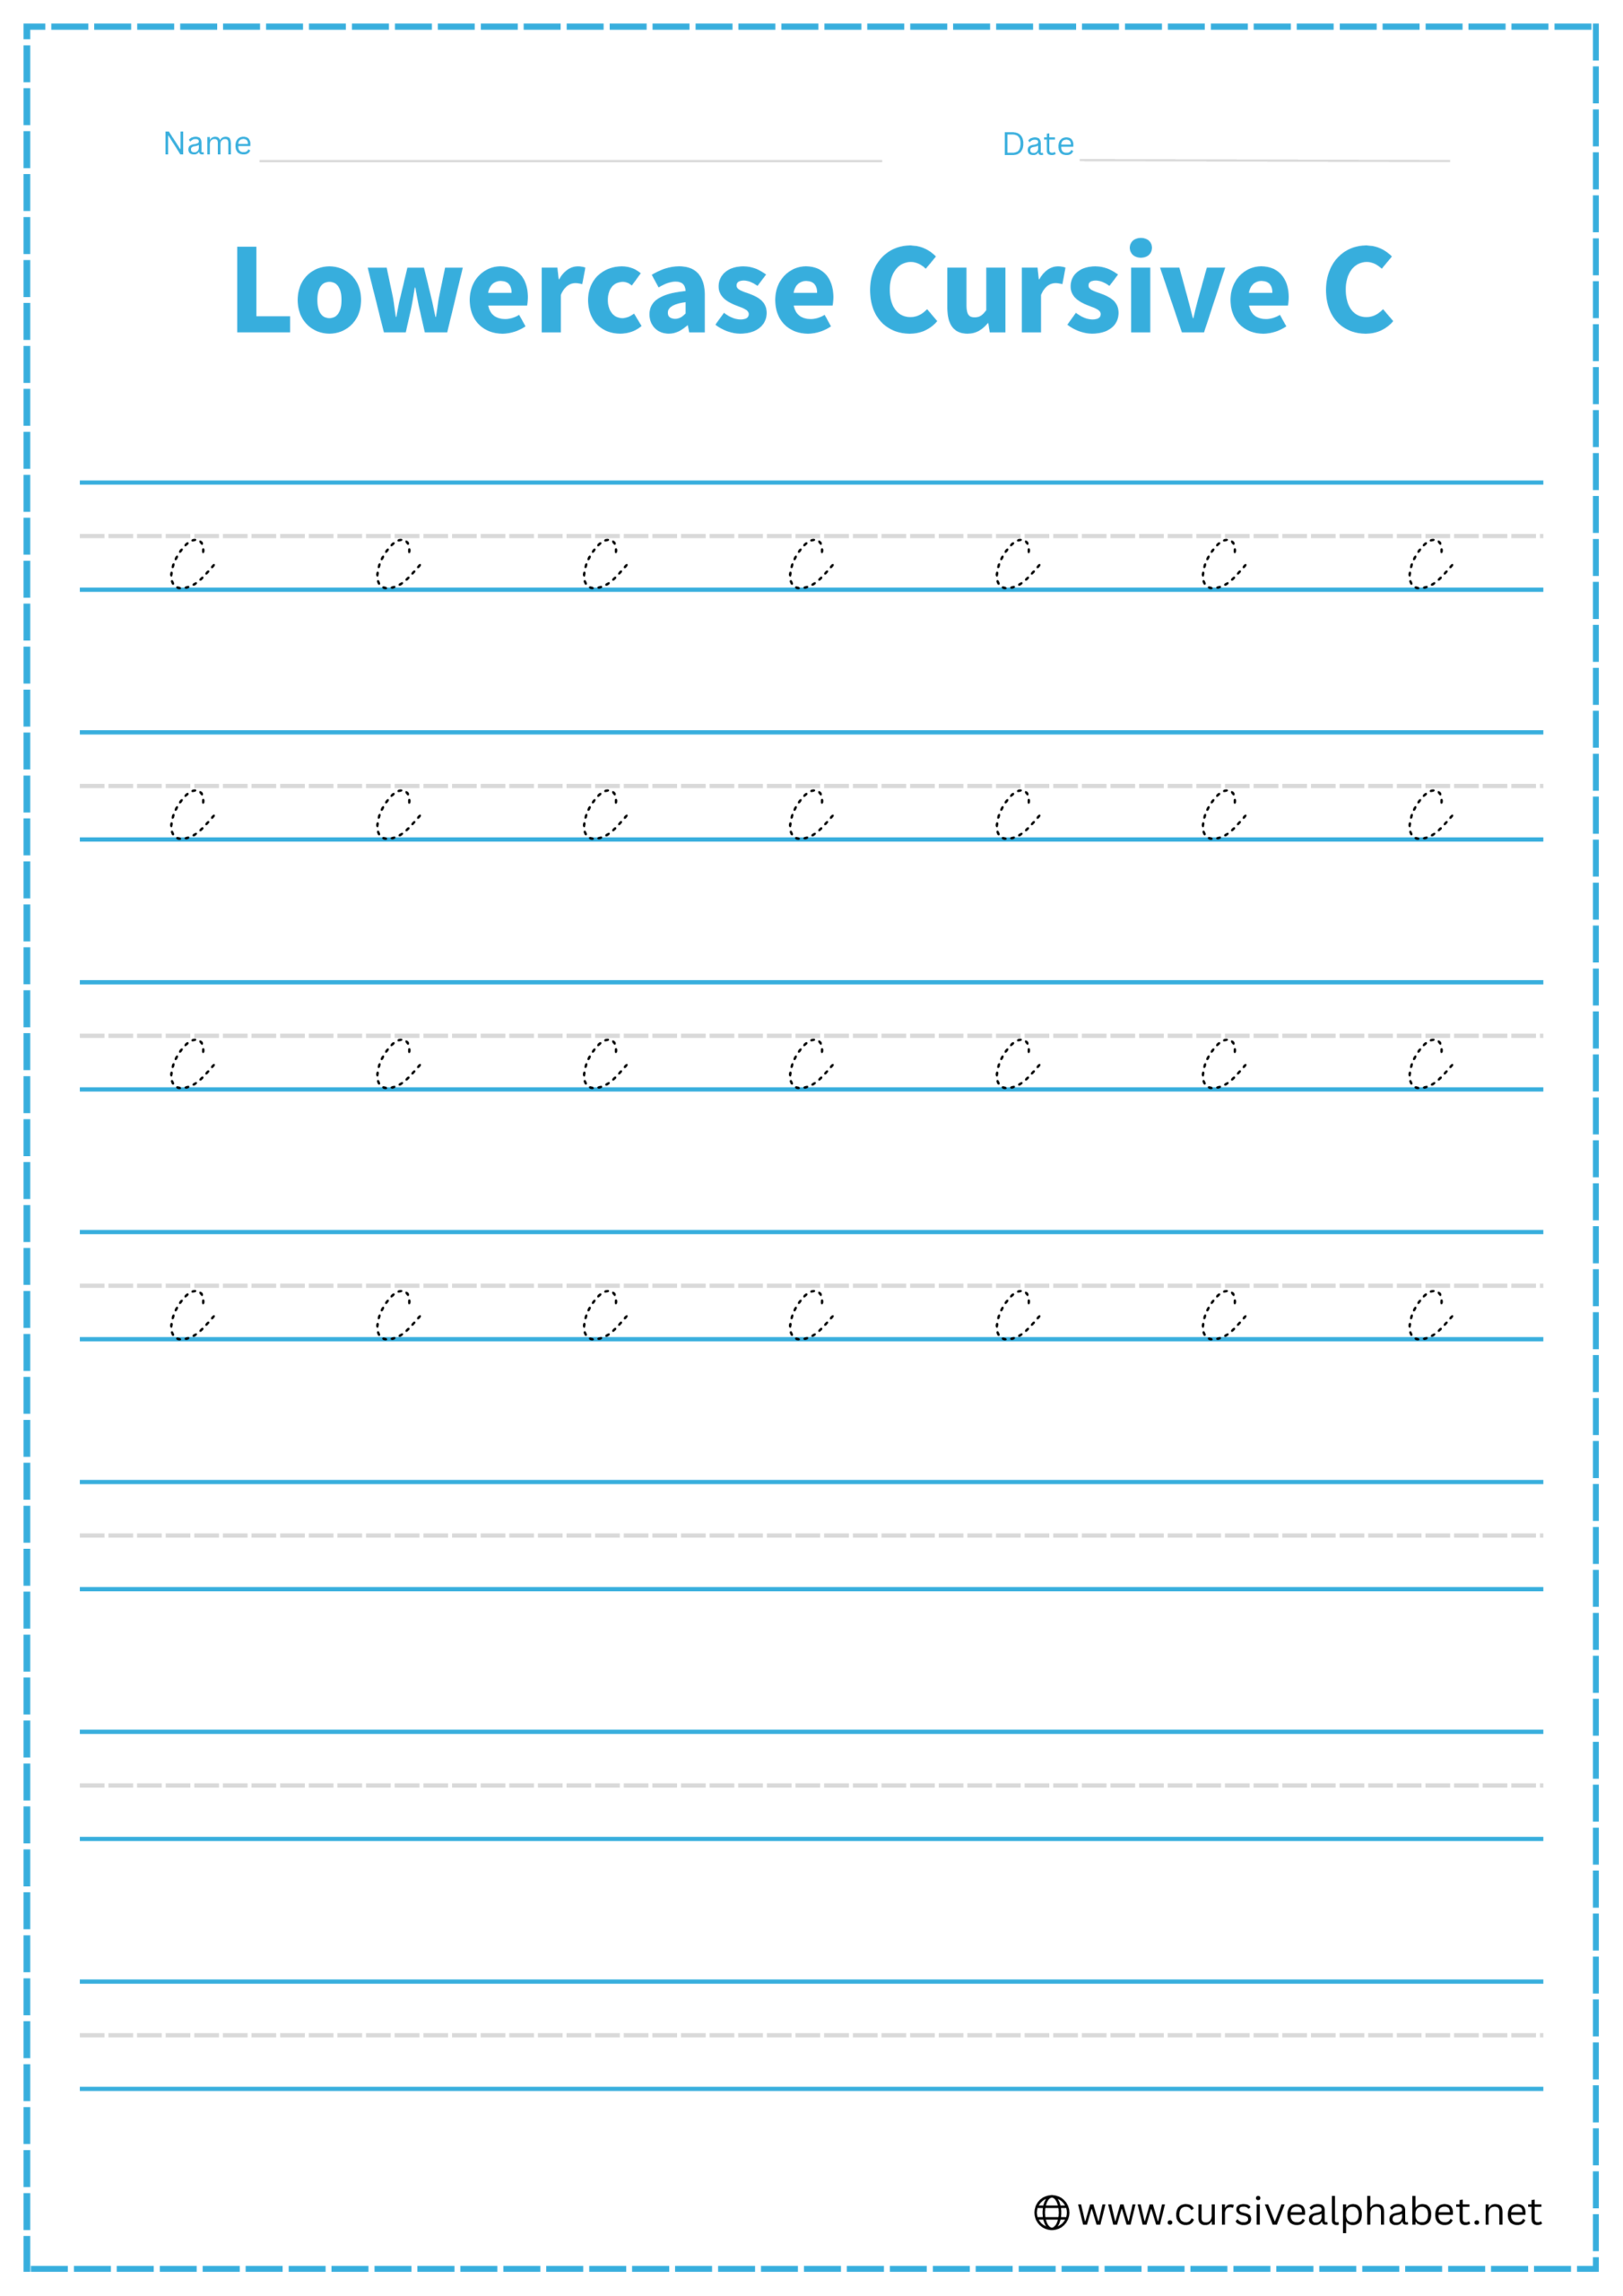
How to Write Lowercase Cursive C
- Start with your pen on the bottom baseline and curve upward at a slant toward the middle dashed line.
- Once you reach the middle dashed line, curve slightly to the right to create a small “hook” or “wave” top.
- Stop your pen, then move back over the same line you just drew to begin the curve of the letter.
- Sweep down and around to the left, making a rounded shape that touches the bottom baseline.
- Finish by curving back up to the right toward the middle dashed line to prepare for the next connection.
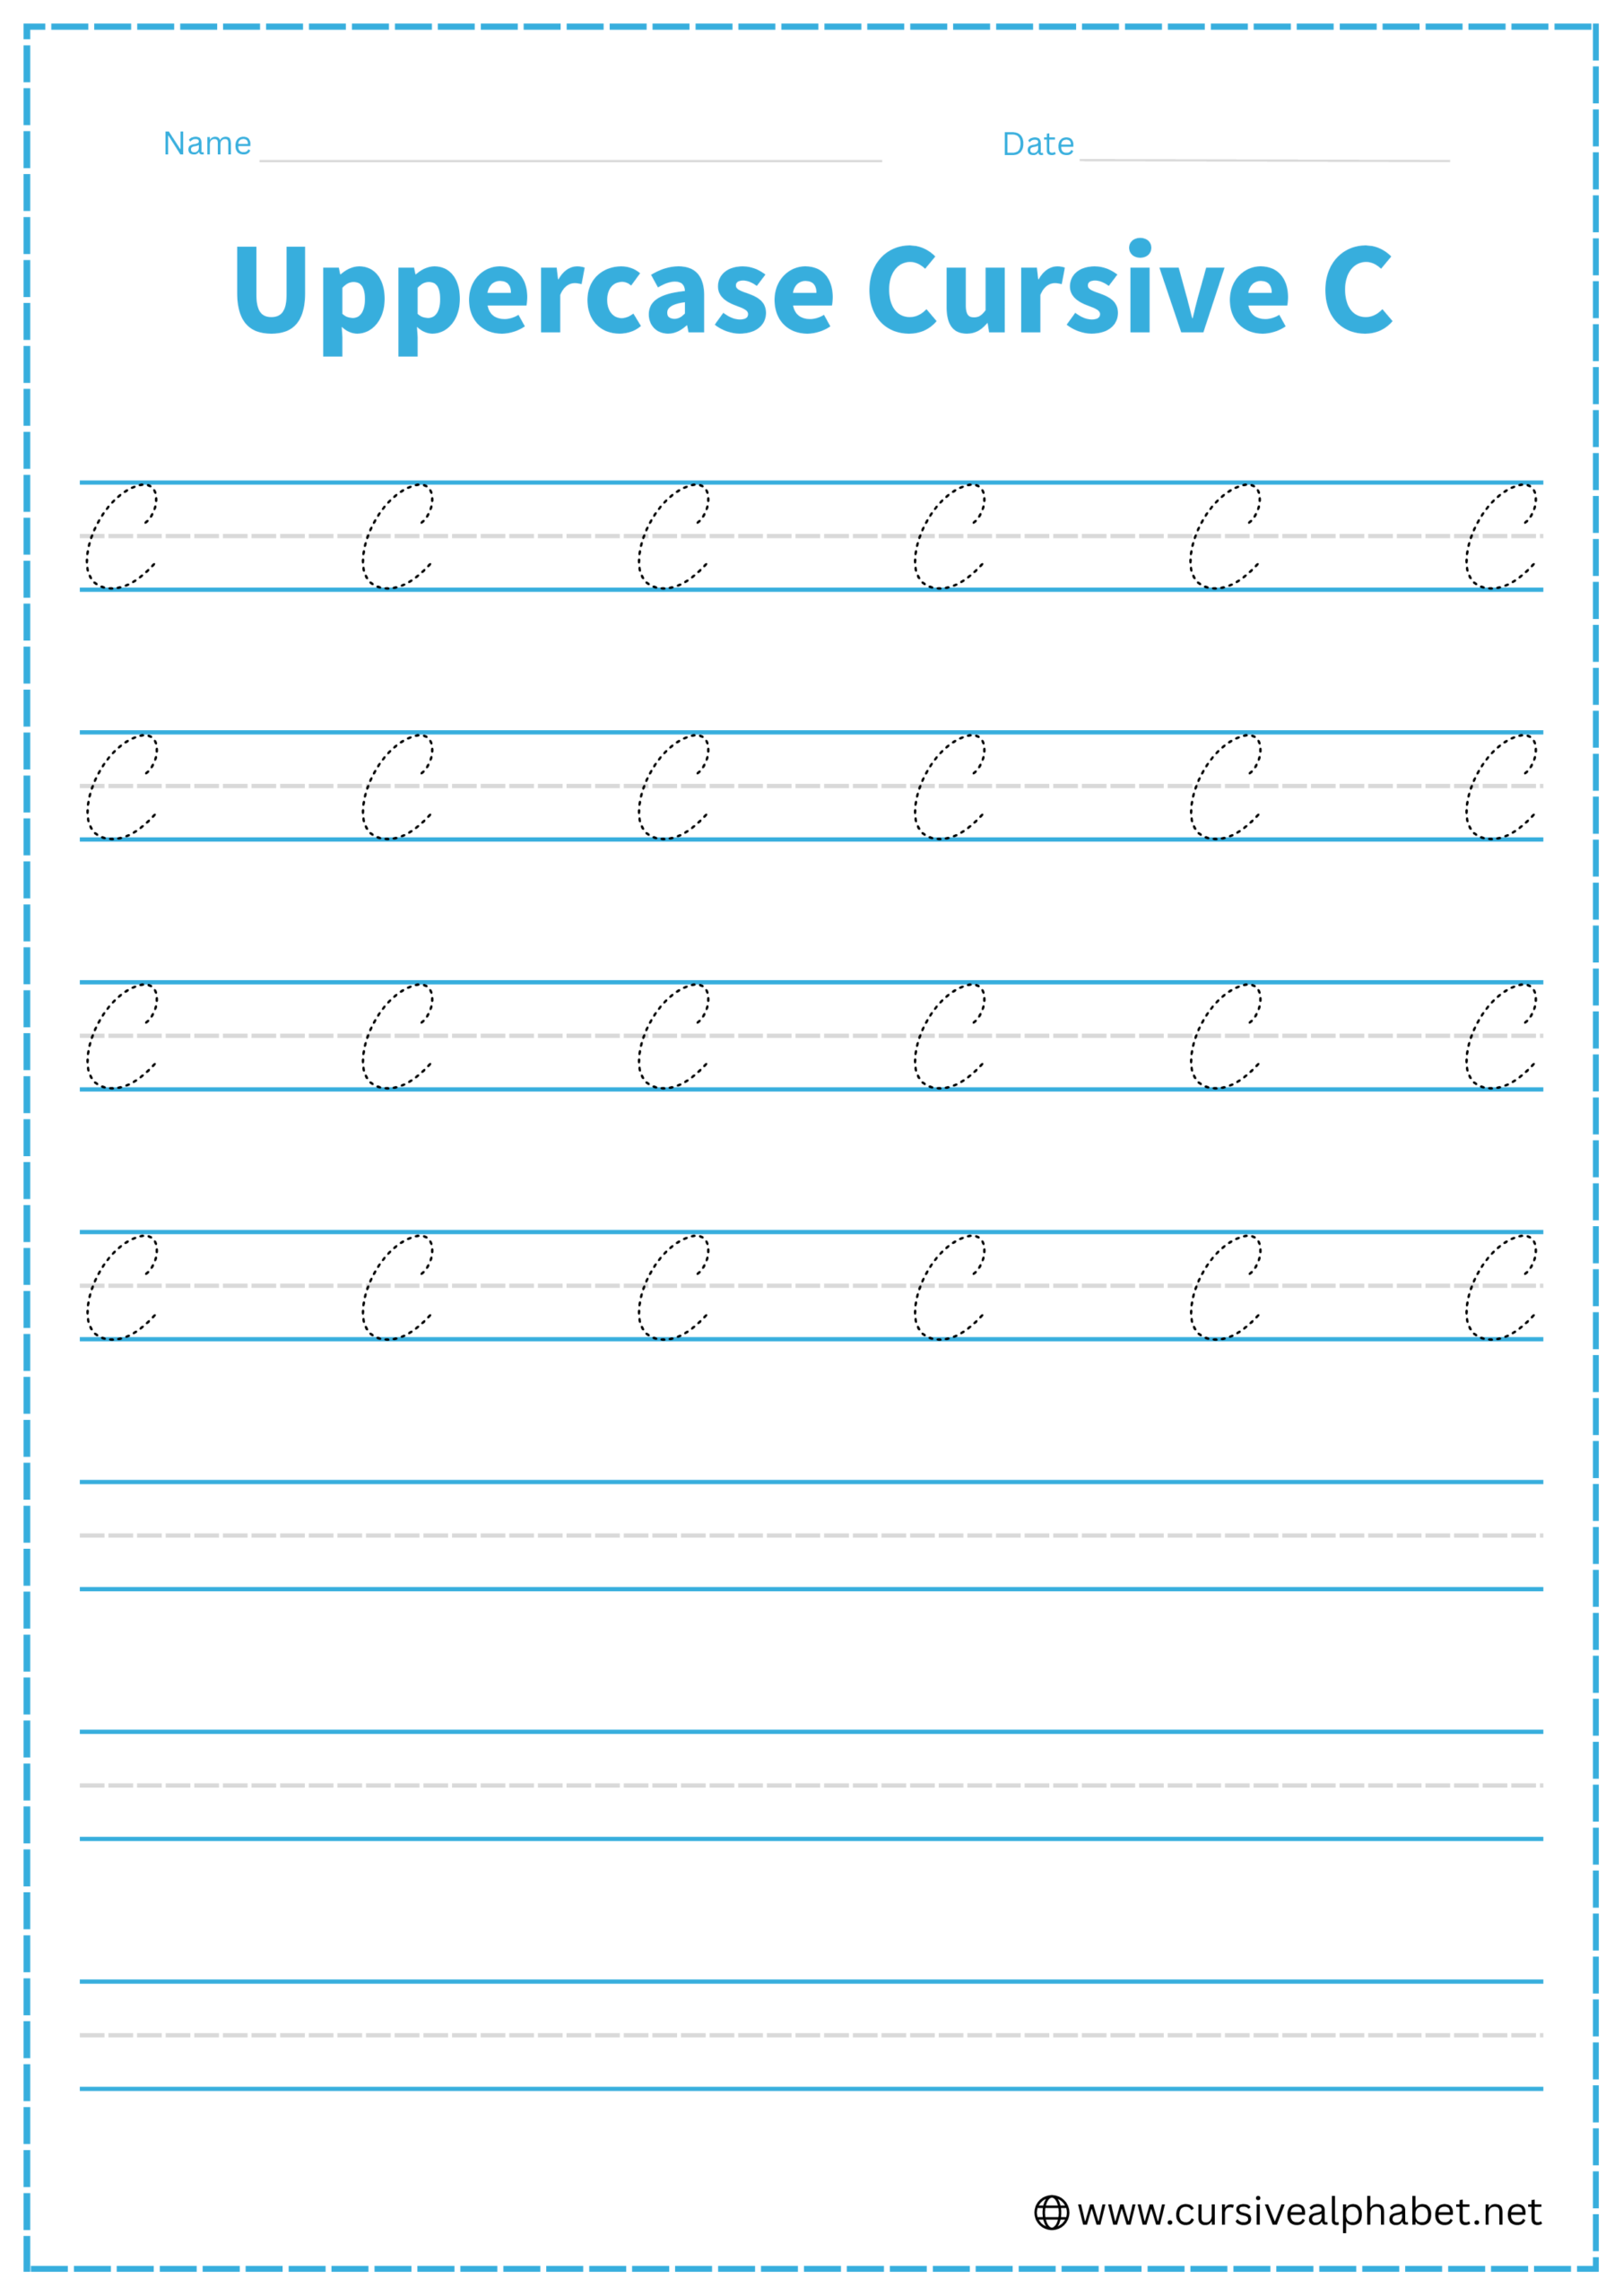
How to Write Uppercase Cursive C
Follow these simple steps to write the uppercase cursive letter B.
- Start slightly below the top line, draw a straight slanted line down to the bottom baseline, and finish with a tiny curl to the left.
- Lift your pen (or retrace up) to the top line to begin the right-side curves.
- Curve out to the right and back in toward the middle dashed line, touching the top line along the way.
- Create a tiny horizontal loop (a “knot”) right at the middle dashed line before starting the second curve.
- Curve out again to the right, touch the bottom baseline, and swing the tail slightly inward to finish.
Common Mistakes to Avoid
Lowercase Cursive C
- Drawing a full circle instead of leaving the right side open.
- Failing to retrace the top hook, which makes the letter look like a slanted line.
- Stopping before the bottom baseline and letting the letter “float.”
- Starting the upstroke at the midline instead of the bottom line.
- Making the letter too narrow instead of a balanced, slanted oval.
Uppercase Cursive C
- Starting the initial loop too low instead of touching the top line.
- Crossing the middle dashed line with the top hook, making it look like an O.
- Failing to touch the bottom baseline with the rounded belly of the letter.
- Making the letter too narrow or straight instead of a wide, slanted oval.
- Forgetting the exit stroke, which is needed to connect to the next lowercase letter.
Frequently Asked Questions
To write an uppercase cursive C, start just below the top headline. Curve upward to touch the line, creating a small downward loop or “hook.” From there, sweep your pen in a large, rounded arc down to the bottom baseline. Finish by curving the tail upward toward the midline to allow for a smooth connection to the next letter.
Yes, the primary difference is the initial upstroke and the exit stroke. While a printed “c” is a simple curve, a lowercase cursive “c” begins on the bottom baseline with an upward slant and ends with a tail that connects to the following letter. It also requires a “retrace” at the top to give it the proper cursive shape.
Beginners often make these three mistakes:
Floating letters: Forgetting to touch the bottom baseline.
Closing the loop: Accidentally closing the letter so it looks like an “o” or “O.”
Skipping the retrace: On the lowercase “c,” failing to move the pen back over the initial wave makes the letter look like a simple slanted line.
Both uppercase and lowercase cursive C end with an exit stroke (or tail) that curves upward toward the midline. This stroke serves as the bridge to the next letter, allowing you to write entire words without lifting your pen from the paper.
Most children are ready to begin practicing cursive between 2nd and 3rd grade (ages 7–9). Starting with a simple, curved letter like “c” is often easier for beginners than letters with complex loops like “f” or “z.”
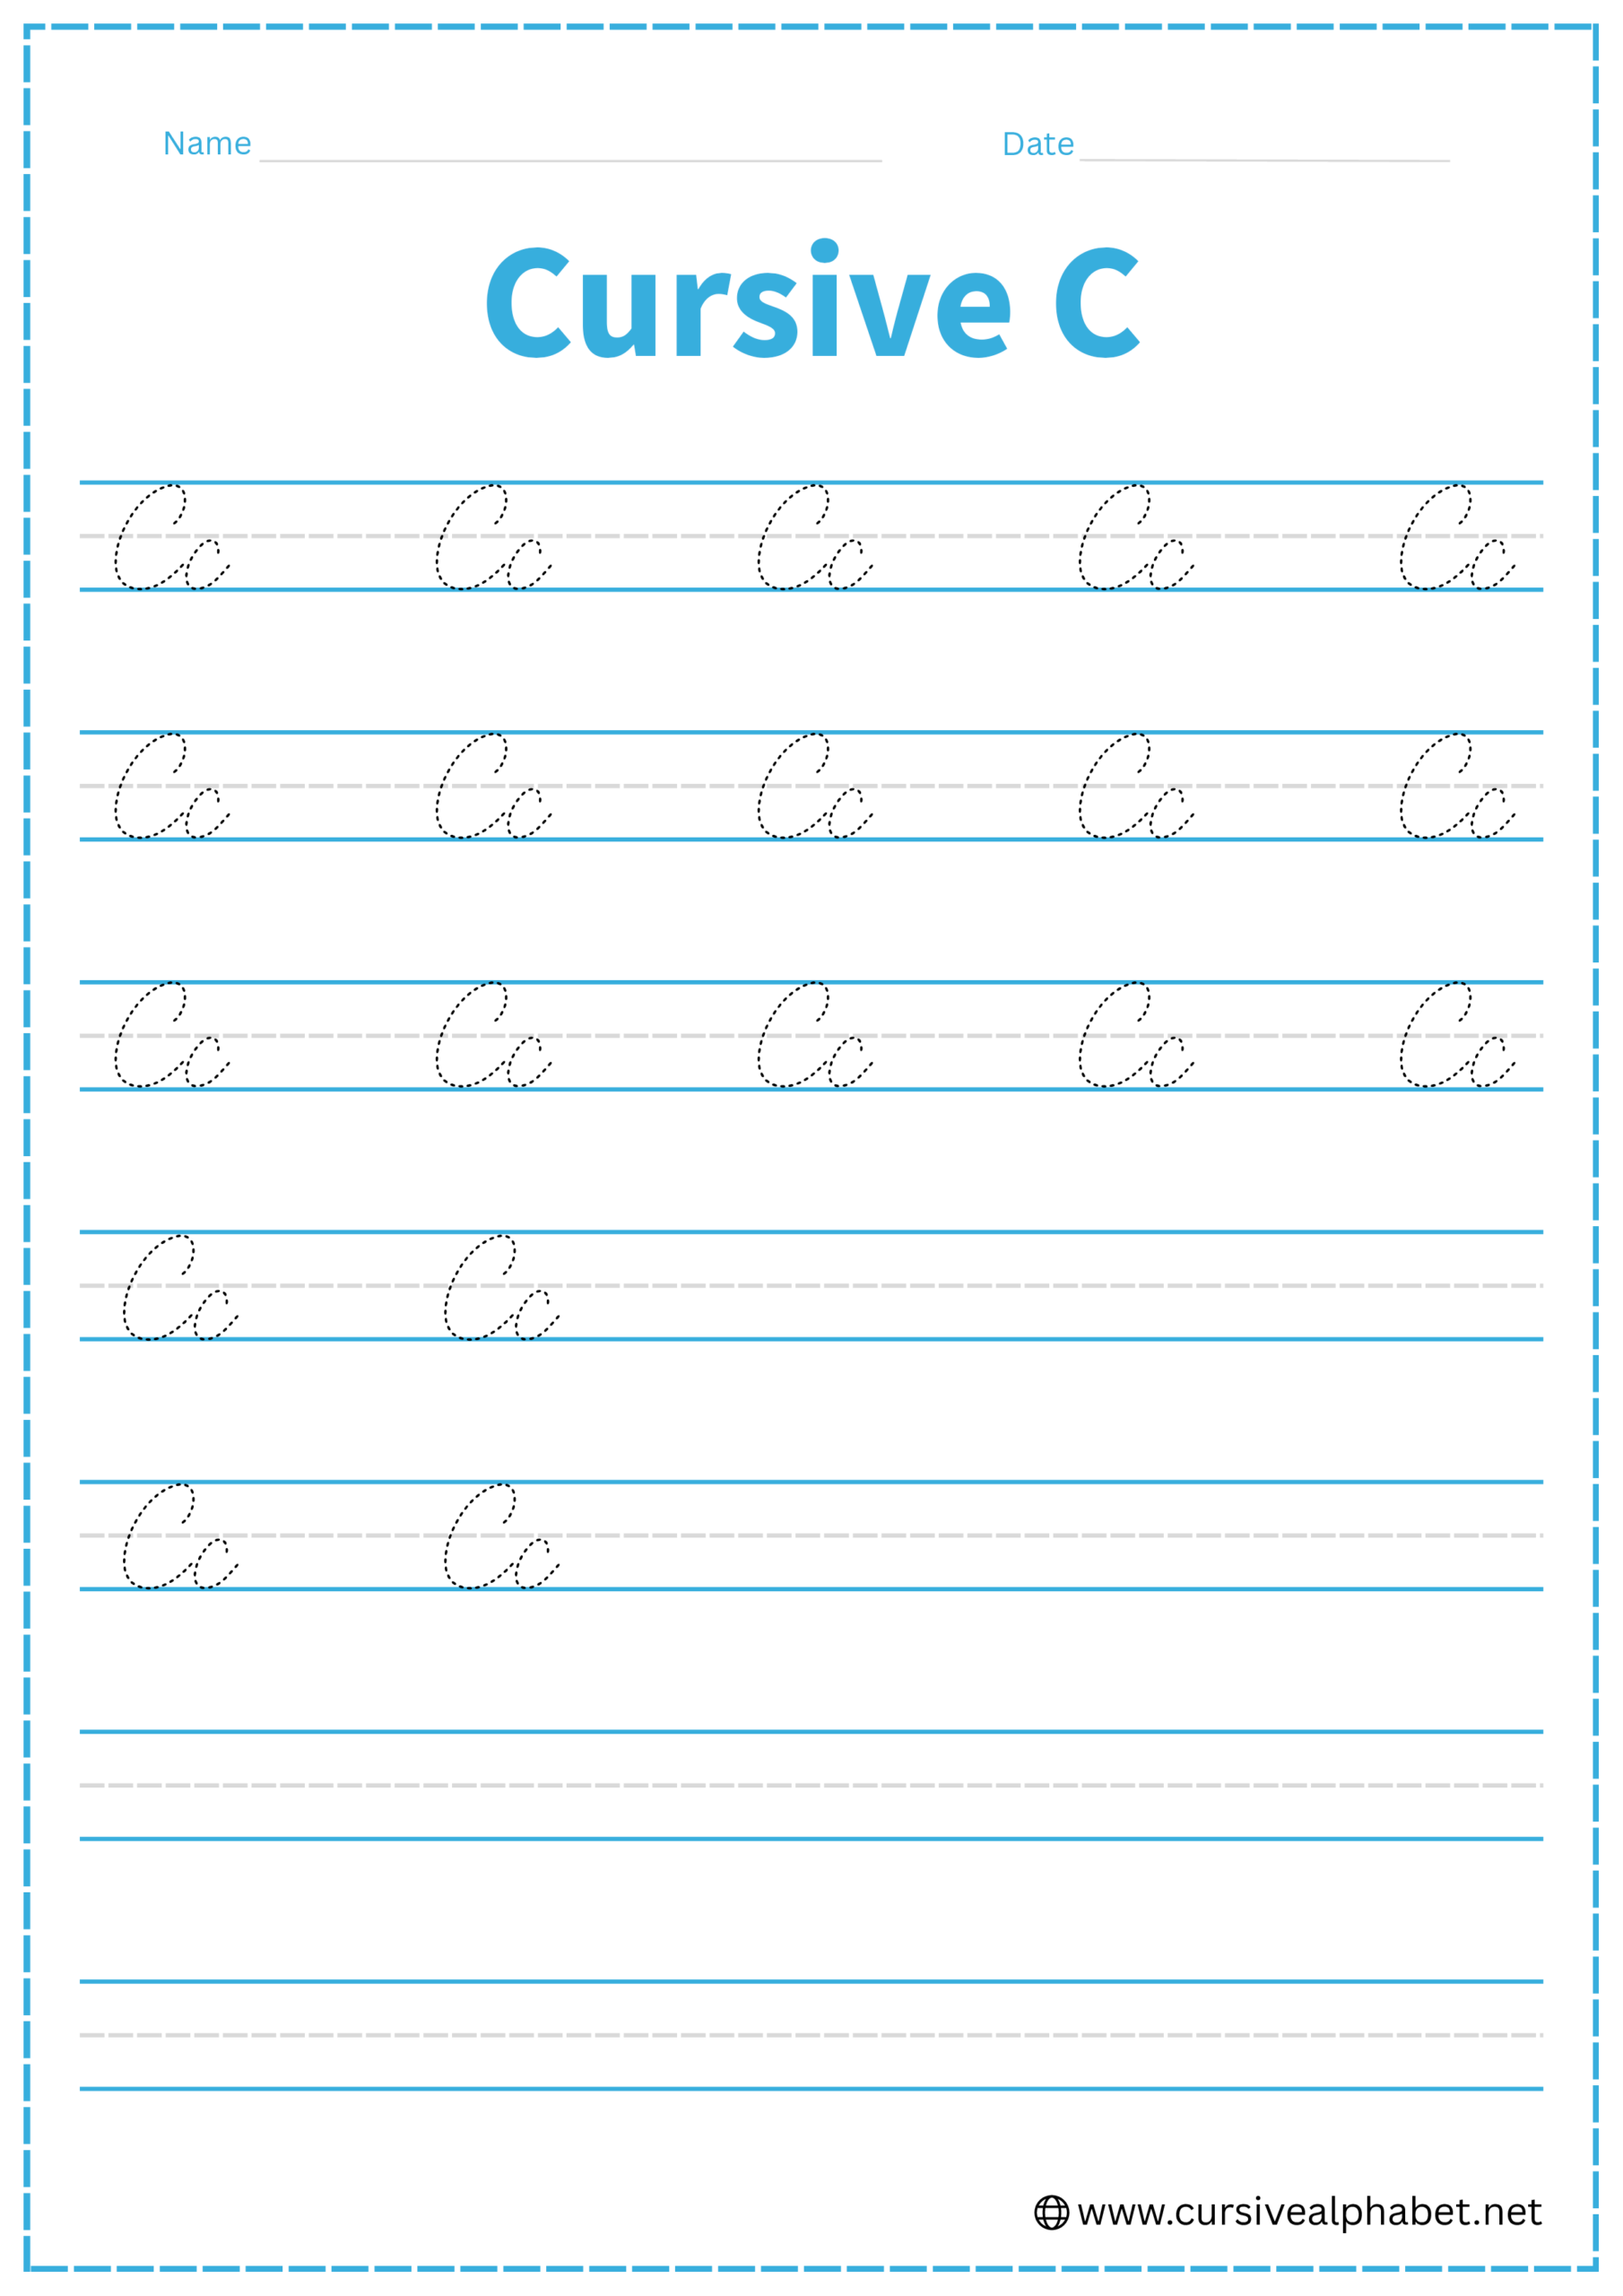
You can download free, high-quality printable worksheets right here on this page. Our worksheets include tracing guides for both uppercase and lowercase C, as well as blank lines for independent practice to help build muscle memory.