Cursive H
Cursive H is a key letter in the cursive alphabet. Here you’ll find step-by-step instructions and printable worksheets to help you practice writing uppercase and lowercase H neatly.
How to Write H in Cursive
The cursive H is all about parallel lines and a strong connection in the middle. Here is how to write both versions on 3-lined paper:
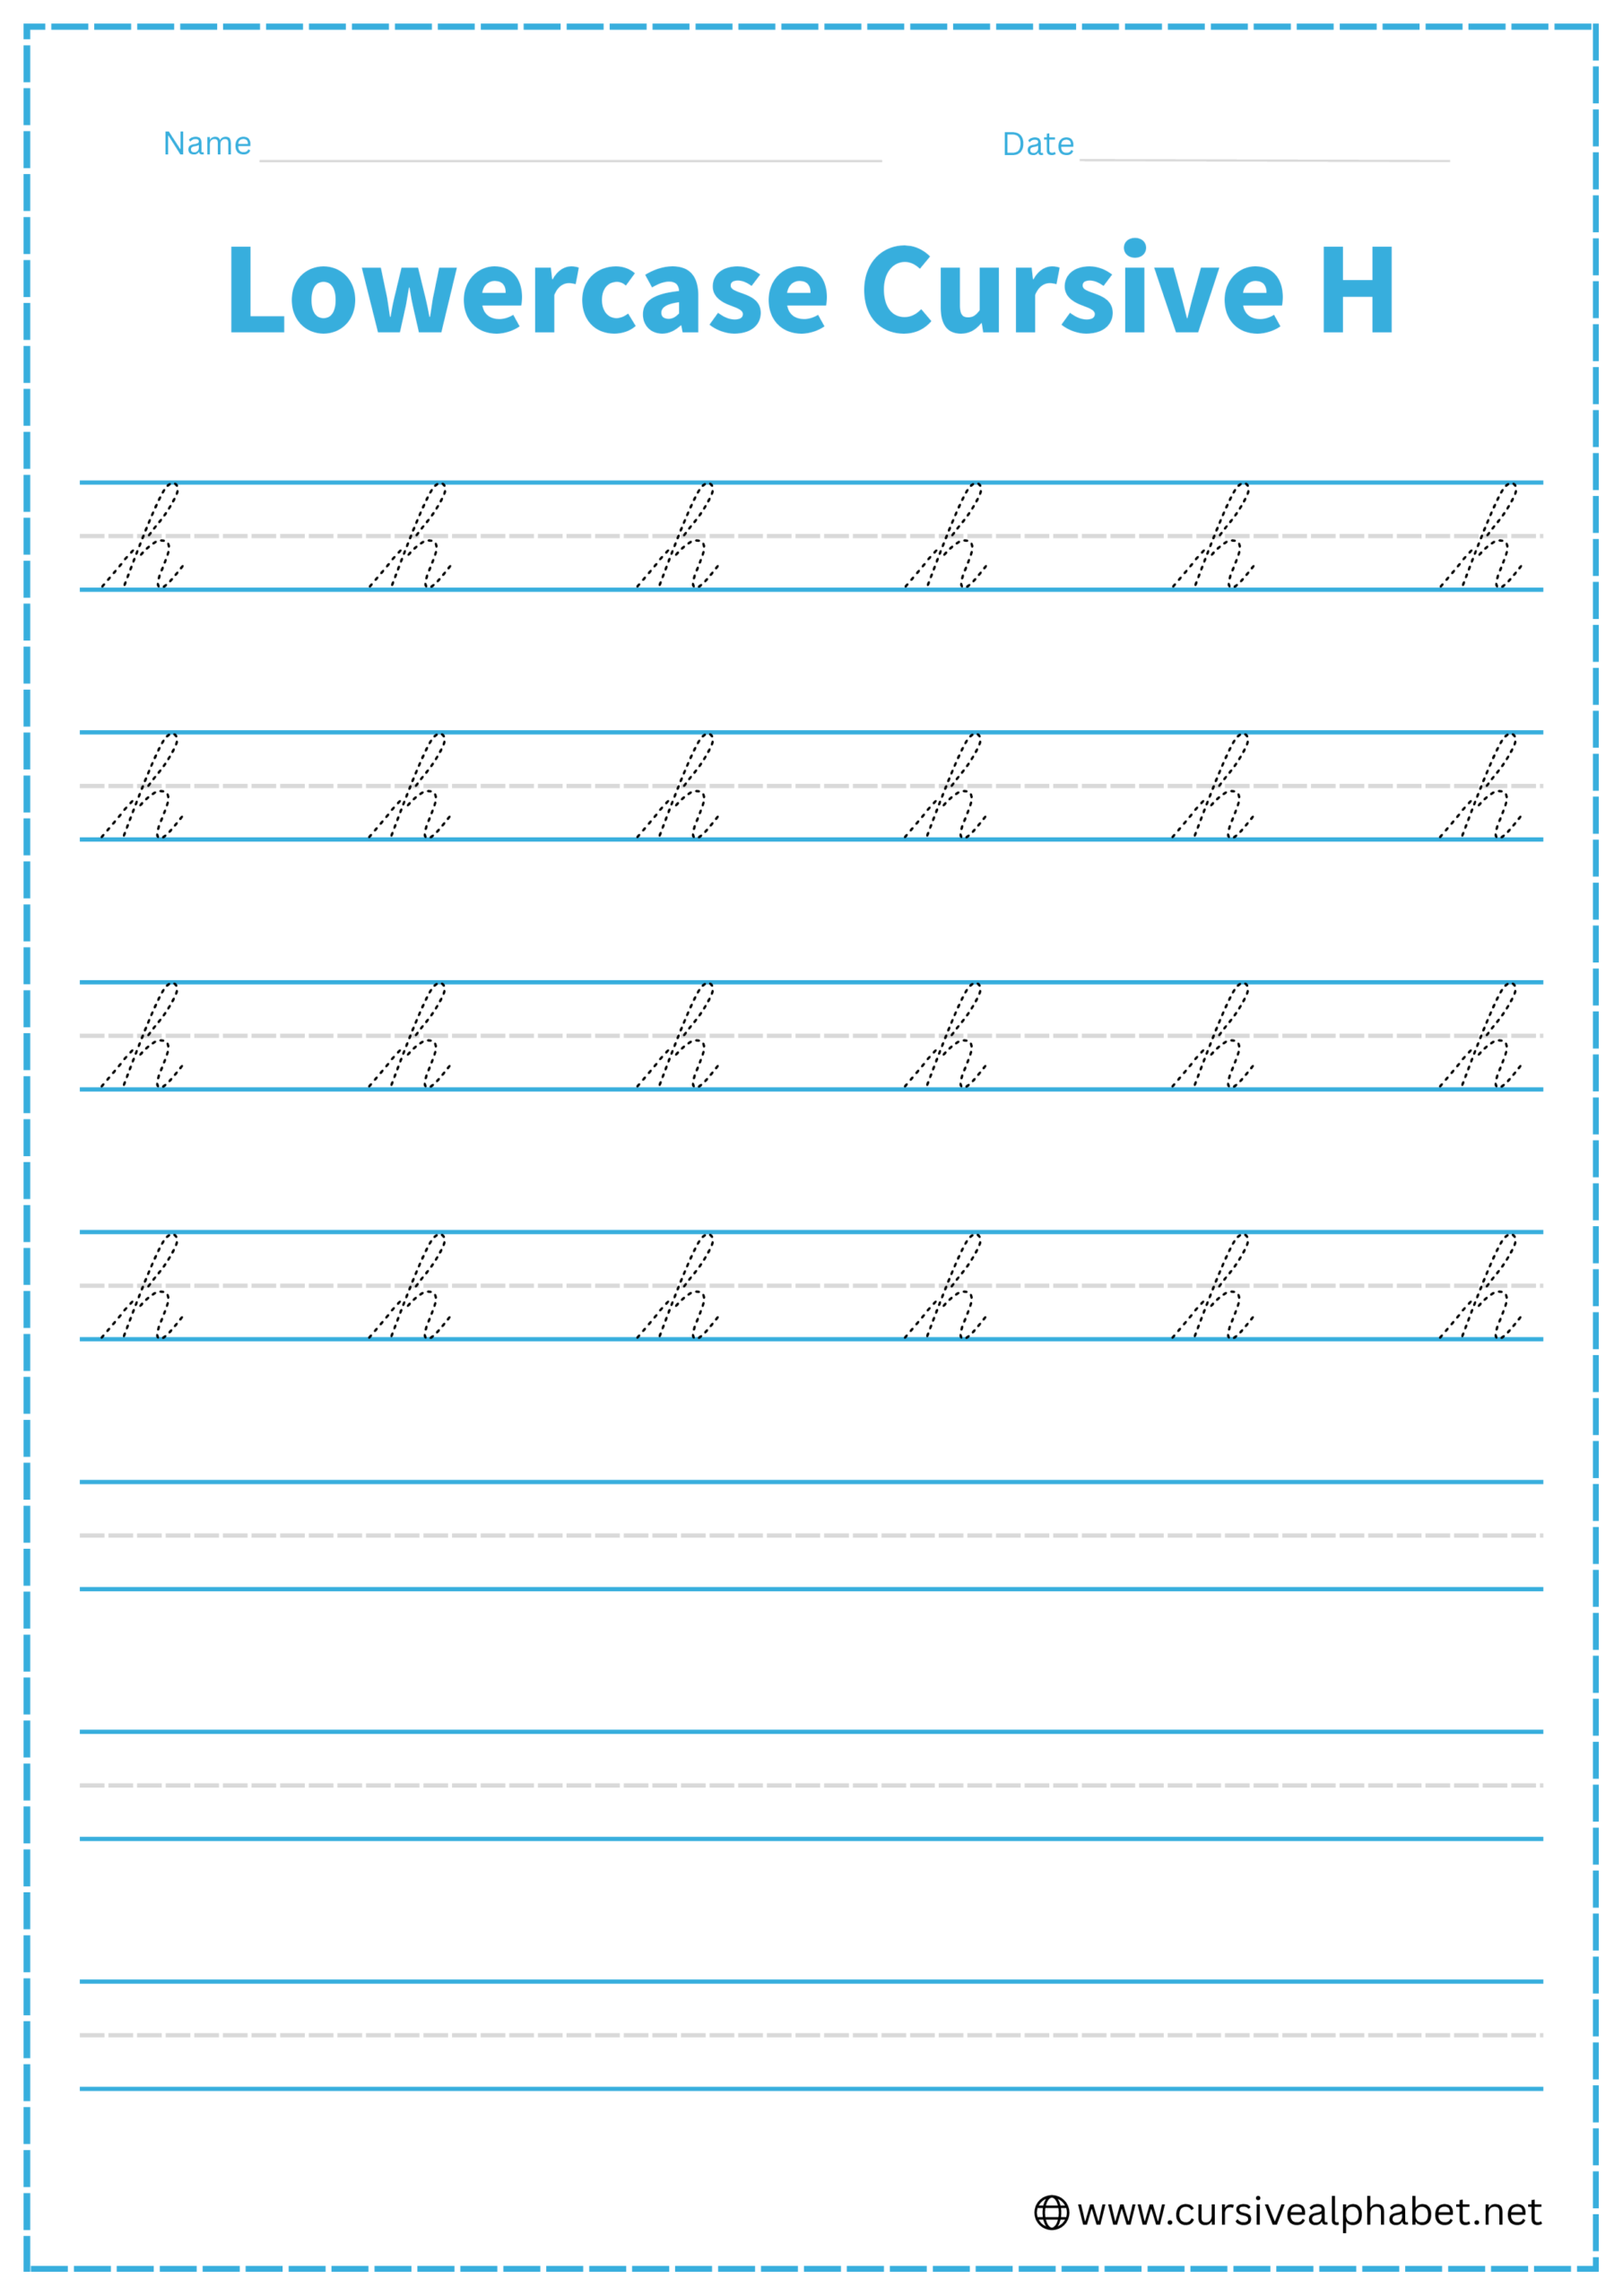
How to Write Lowercase Cursive H
The lowercase h is a tall letter that stays mostly between the baseline and the top line.
- Start on the bottom baseline and sweep up at a slant all the way to the top line.
- Curve to the left and pull a straight line back down to the bottom baseline.
- Retrace up that same line to the middle dashed line, curve over to the right, and touch the midline.
- Drop down to the bottom baseline and finish with a small upward flick toward the middle dashed line.
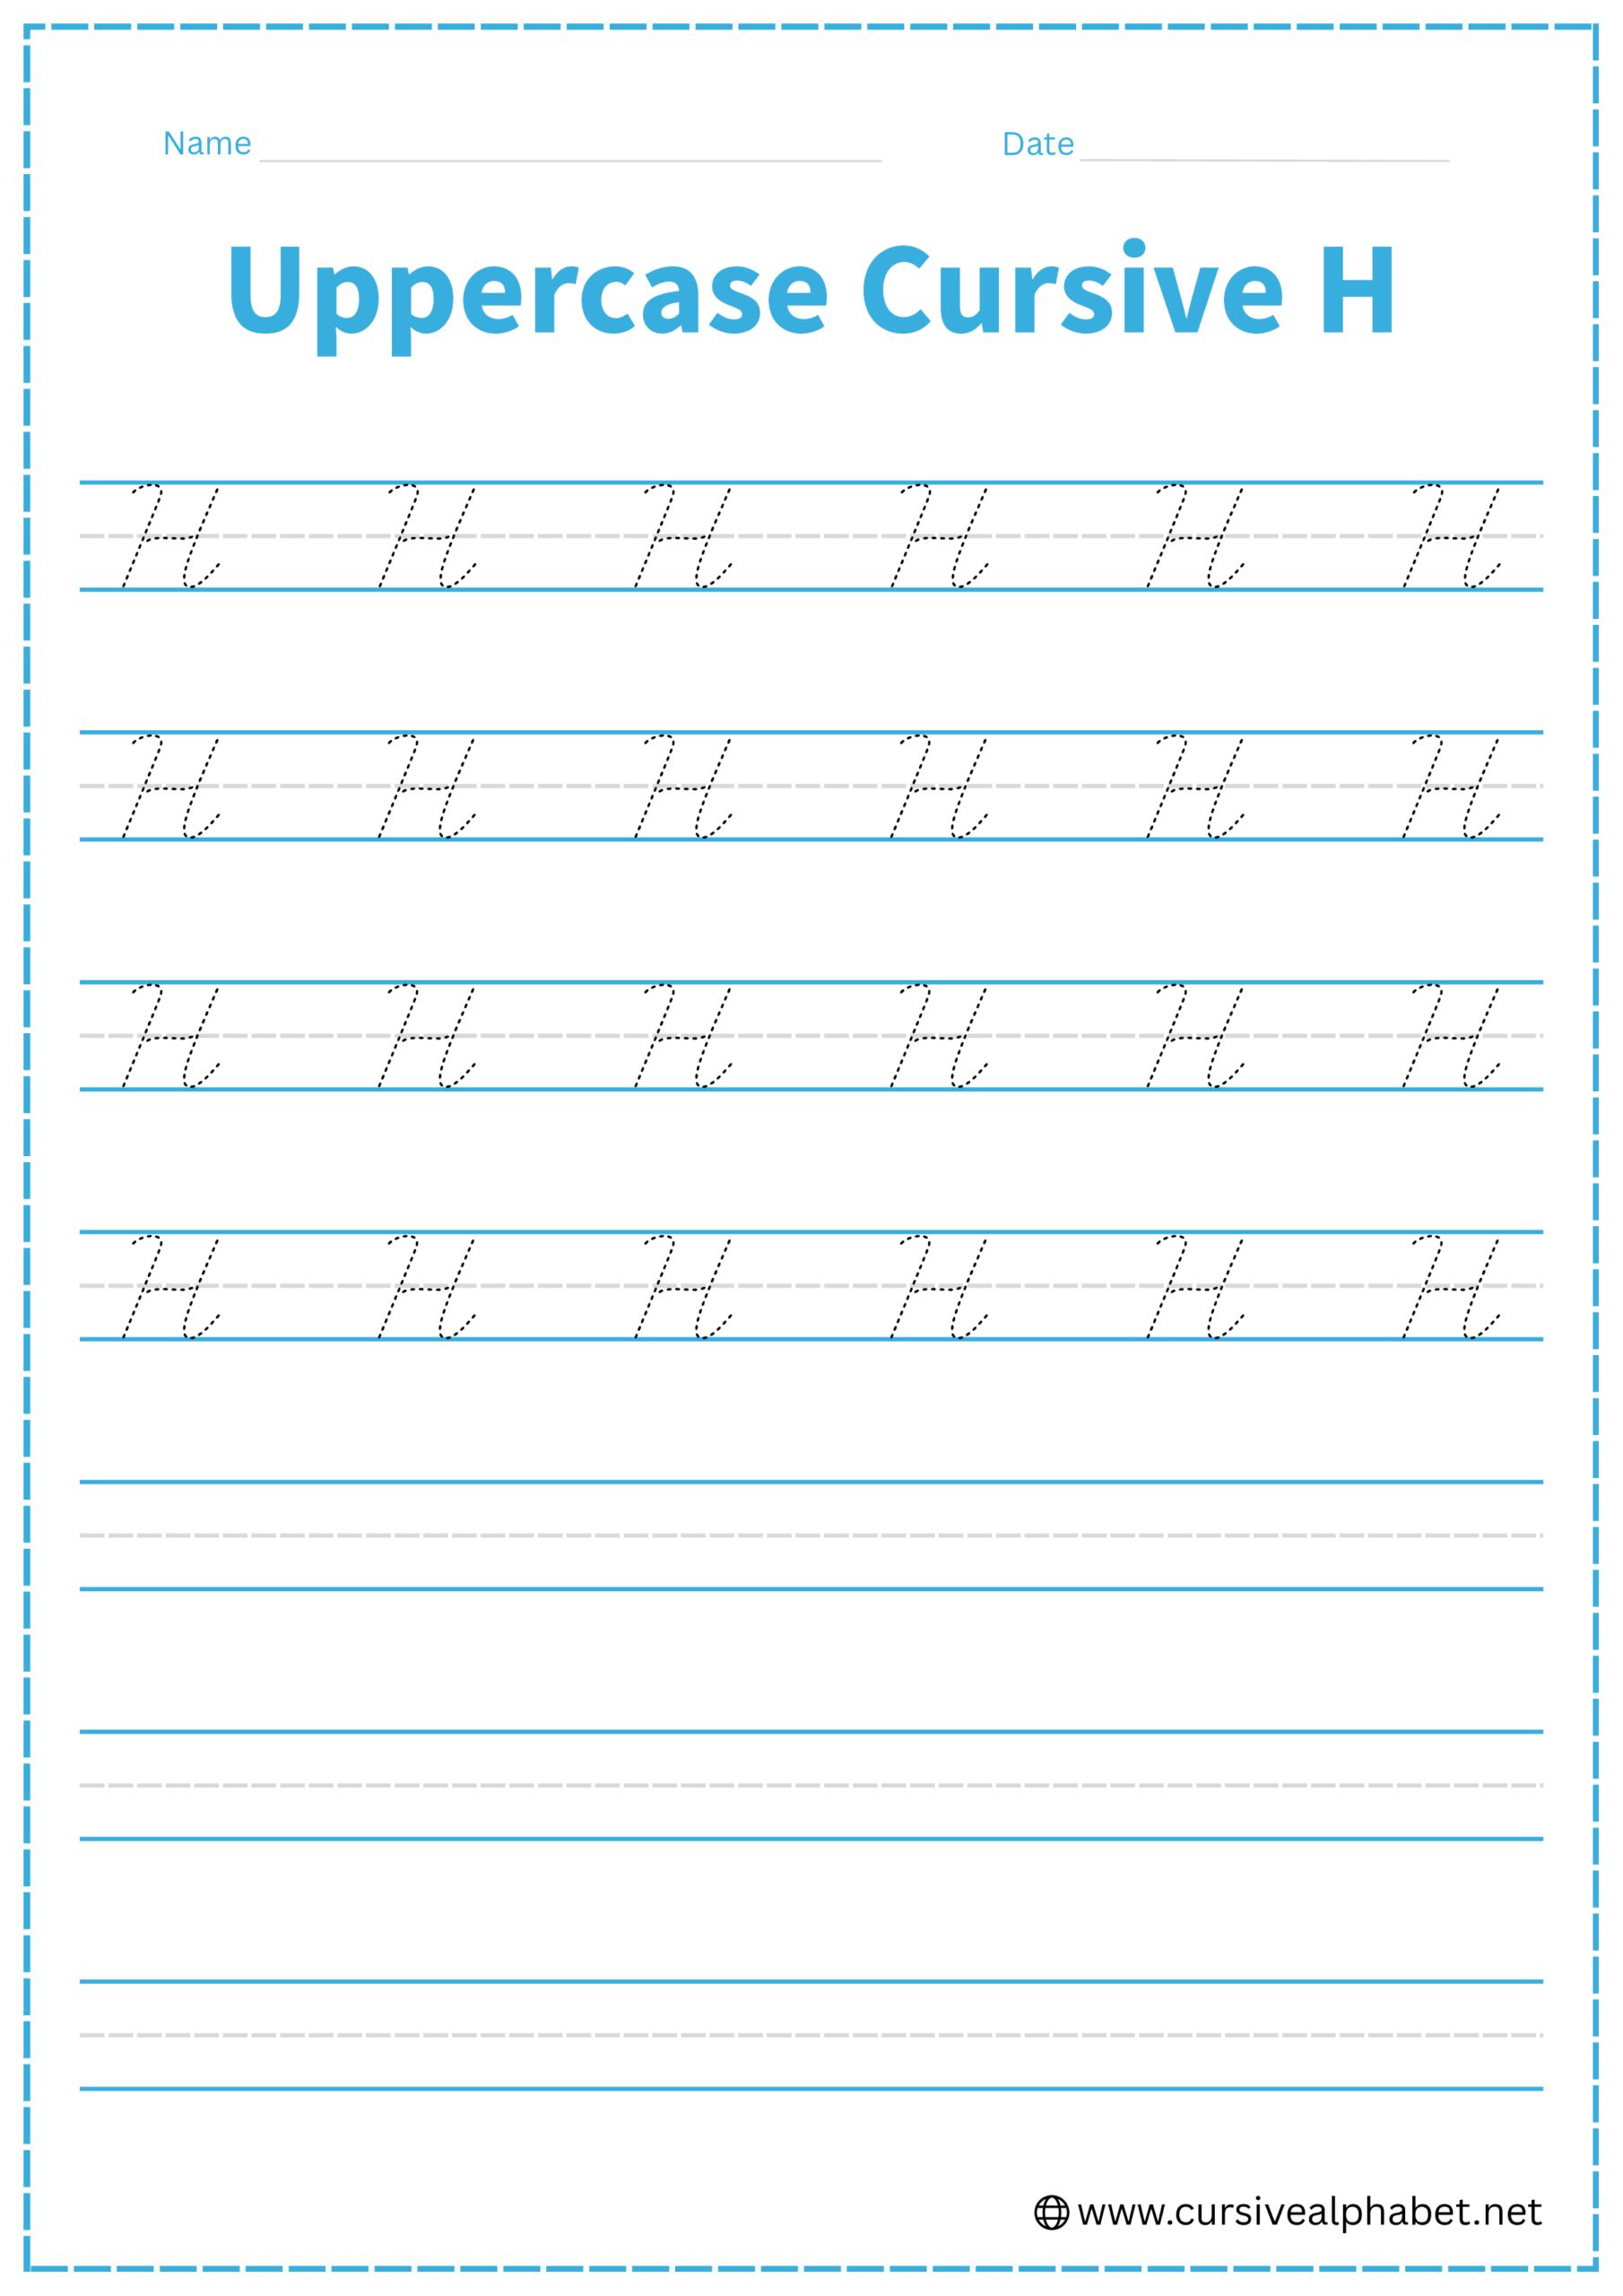
How to Write Uppercase Cursive H
The uppercase H is written in two distinct parts (or one continuous flow, depending on the style).
- Start at the top line, draw a slanted line down to the bottom baseline, and finish with a small curl to the left.
- Lift your pen and start a second slanted line at the top line, roughly a finger-width to the right of the first one.
- Draw the second line straight down to the bottom baseline, finishing with a small curve to the right.
- Retrace up the second stem to the middle dashed line, then loop to the left to “tie” the two stems together.
- Finish the loop by crossing the second stem again and flicking to the right to connect to the next letter.
Common Mistakes to Avoid
Lowercase Cursive H
- Leaving a gap between the stem and the hump instead of retracing the line.
- Making the loop too wide can make it look like a lowercase l and n smashed together.
- Failing to touch the top line with the peak of the loop.
Uppercase Cursive H
- Spacing the two stems too far apart or too close together.
- Placing the connecting loop too high or too low instead of exactly on the middle dashed line.
- Forgetting the exit stroke, which makes it impossible to join the next letter.
Frequently Asked Questions
Most traditional cursive styles (like Palmer or Zaner-Bloser) teach the uppercase H in two separate strokes. You first create the left stem, lift your pen, and then create the right stem and the connecting loop. This ensures the two vertical lines remain parallel and well-spaced.
A good rule of thumb is to leave about a “finger-width” of space between the two stems. If they are too close, the middle loop will look cluttered; if they are too far apart, the letter loses its structure and becomes difficult to read as a single character.
This usually happens if you fail to retrace the line. When moving from the bottom of the first loop into the “hump,” you must move your pen back up the same vertical line to the middle dashed line before curving over. Leaving a gap between the stem and the hump makes the letter look like two separate characters.
The horizontal “tie” or loop that connects the two stems should sit exactly on the middle dashed line. Placing it too high makes the letter look top-heavy, while placing it too low can make it look like a distorted uppercase “A.”
Yes! The lowercase h finishes with an exit stroke (a small upward flick) that starts at the baseline and moves toward the middle dashed line. This stroke is designed to lead directly into the start of the next letter in the word.
The most frequent error is making the top loop too wide. A wide loop can make the h look like a lowercase l followed by an n. To keep your handwriting neat, aim for a slender, slanted loop that touches the top line firmly but doesn’t take up too much horizontal space.