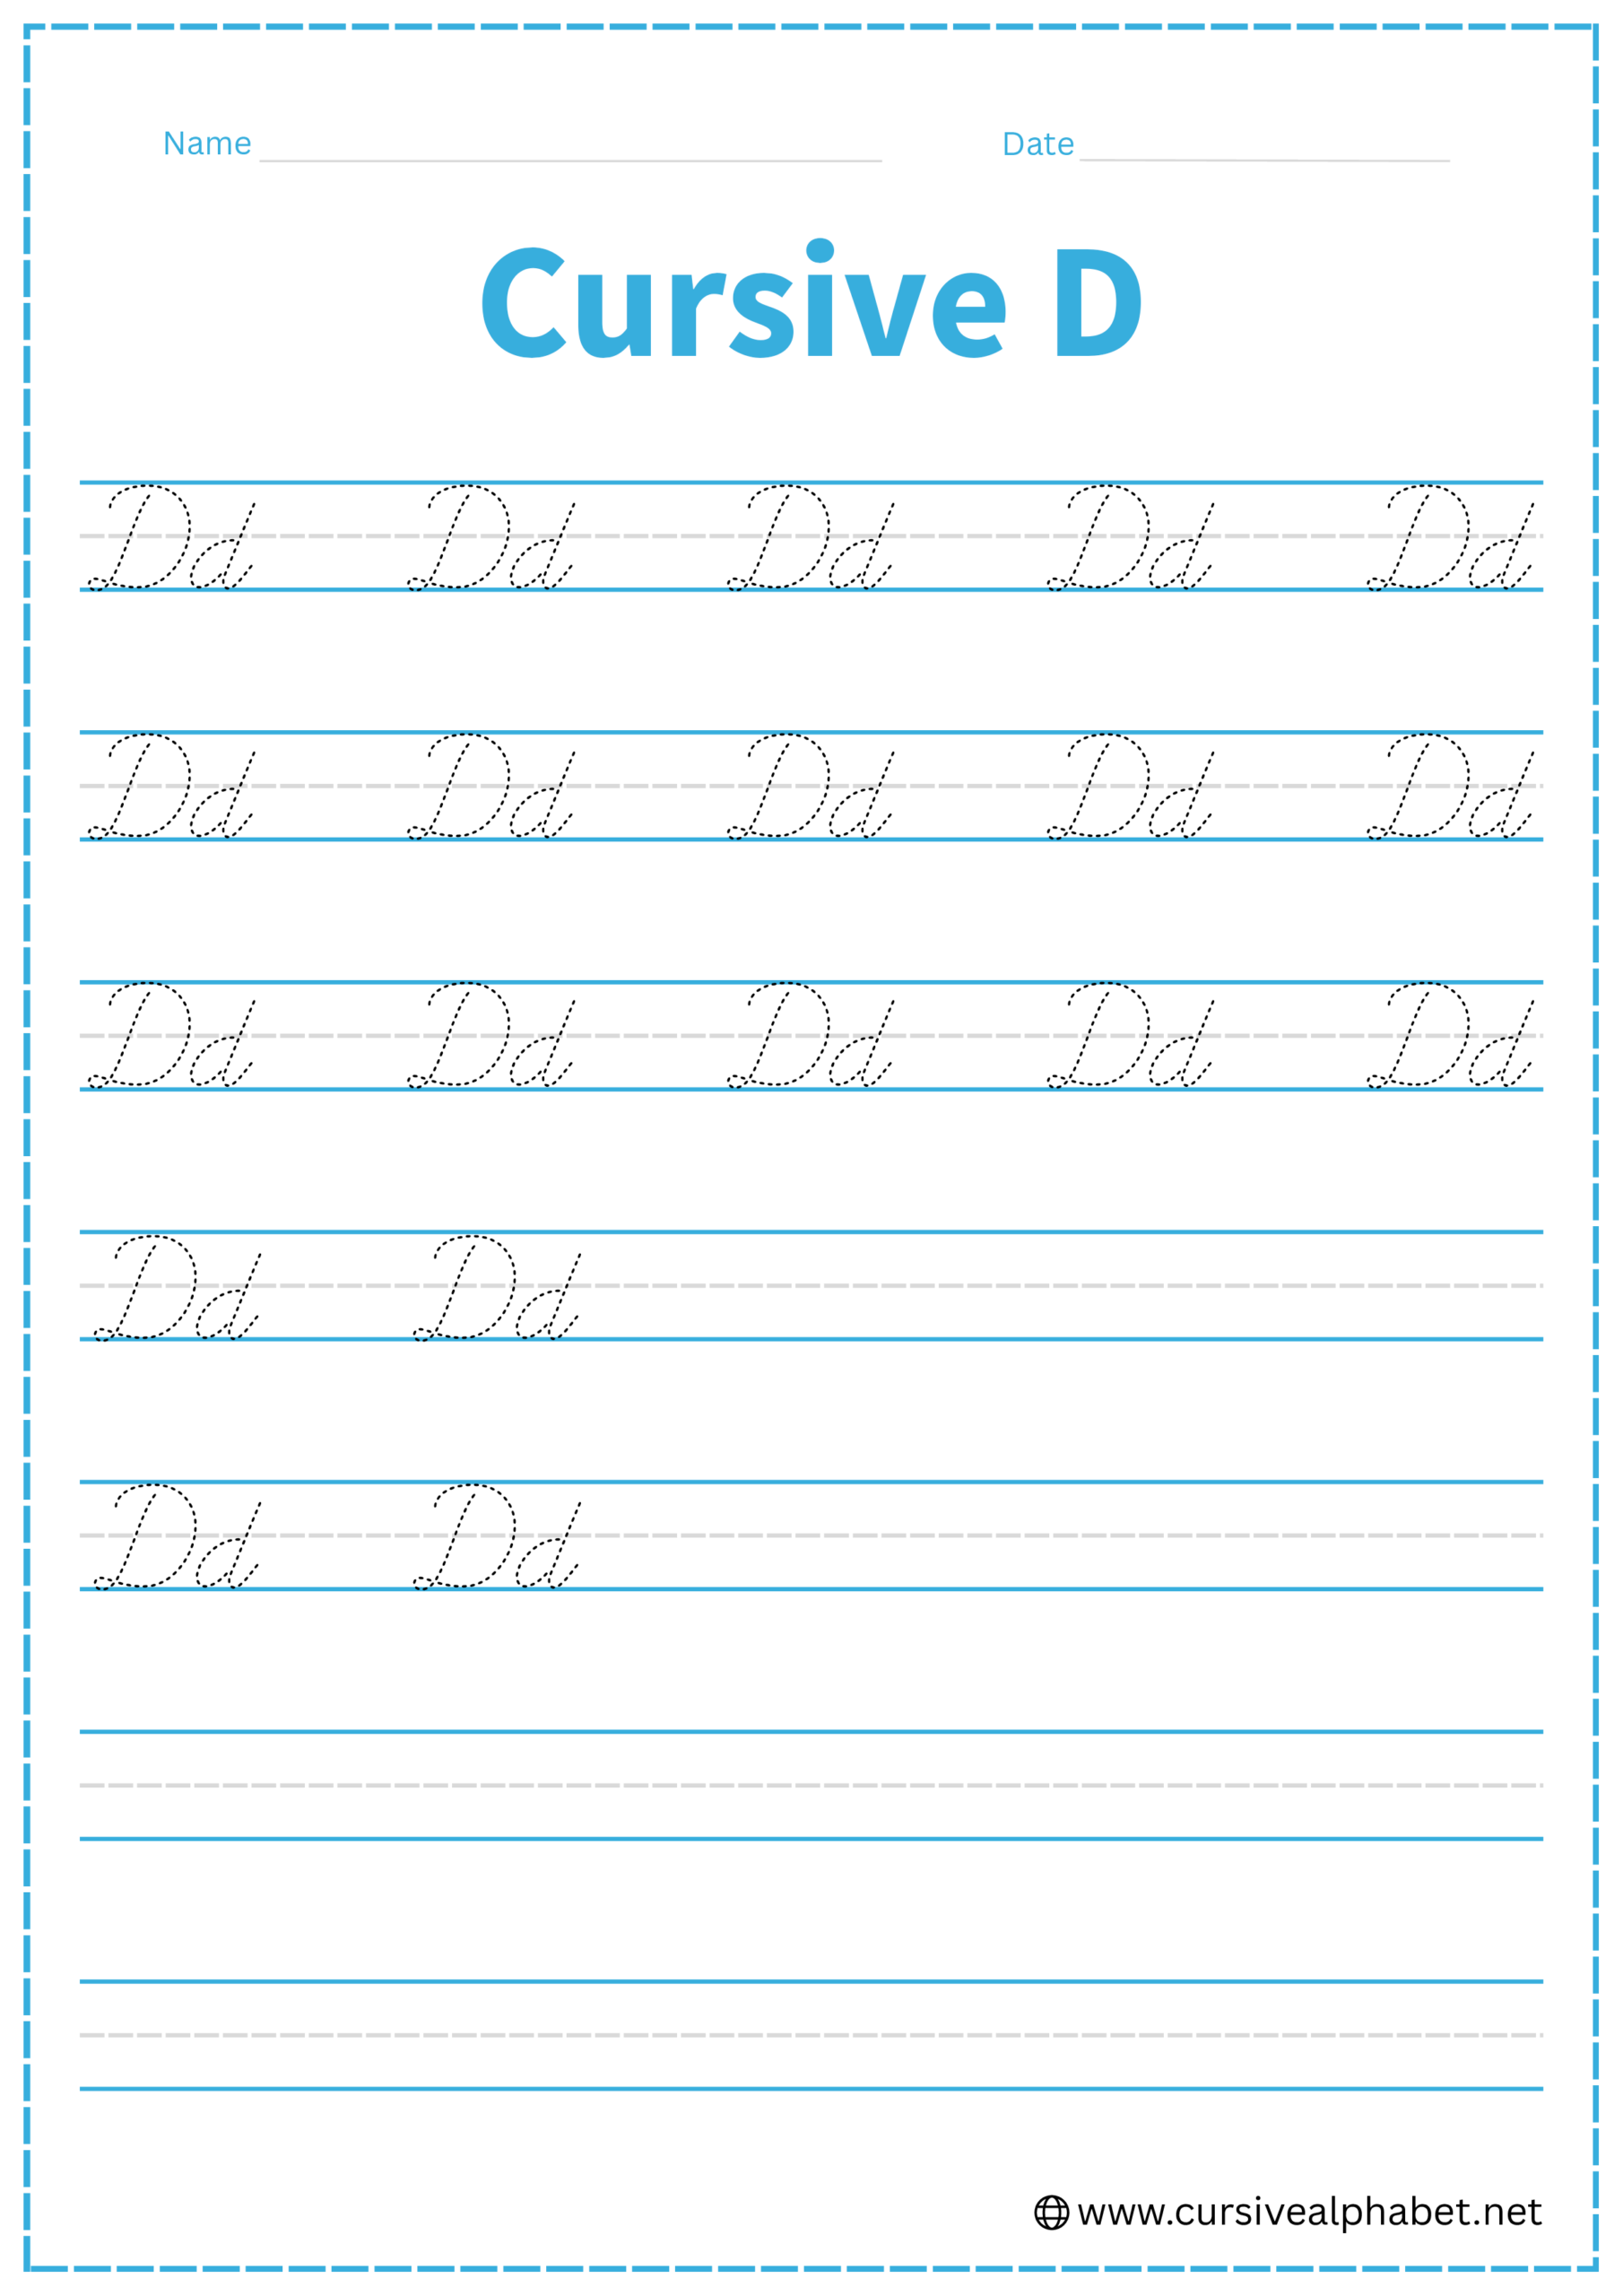
Cursive D
Learning cursive D is a great way to improve your handwriting. On this page, you’ll learn how to write both uppercase and lowercase D step by step. Download free worksheets to trace and practice the letter D, making your writing smooth, neat, and easy to read.
How to Write D in Cursive
Learning to write cursive D is simple with step-by-step guidance. Follow our instructions to master both uppercase and lowercase D, creating smooth, connected, and neat letters.
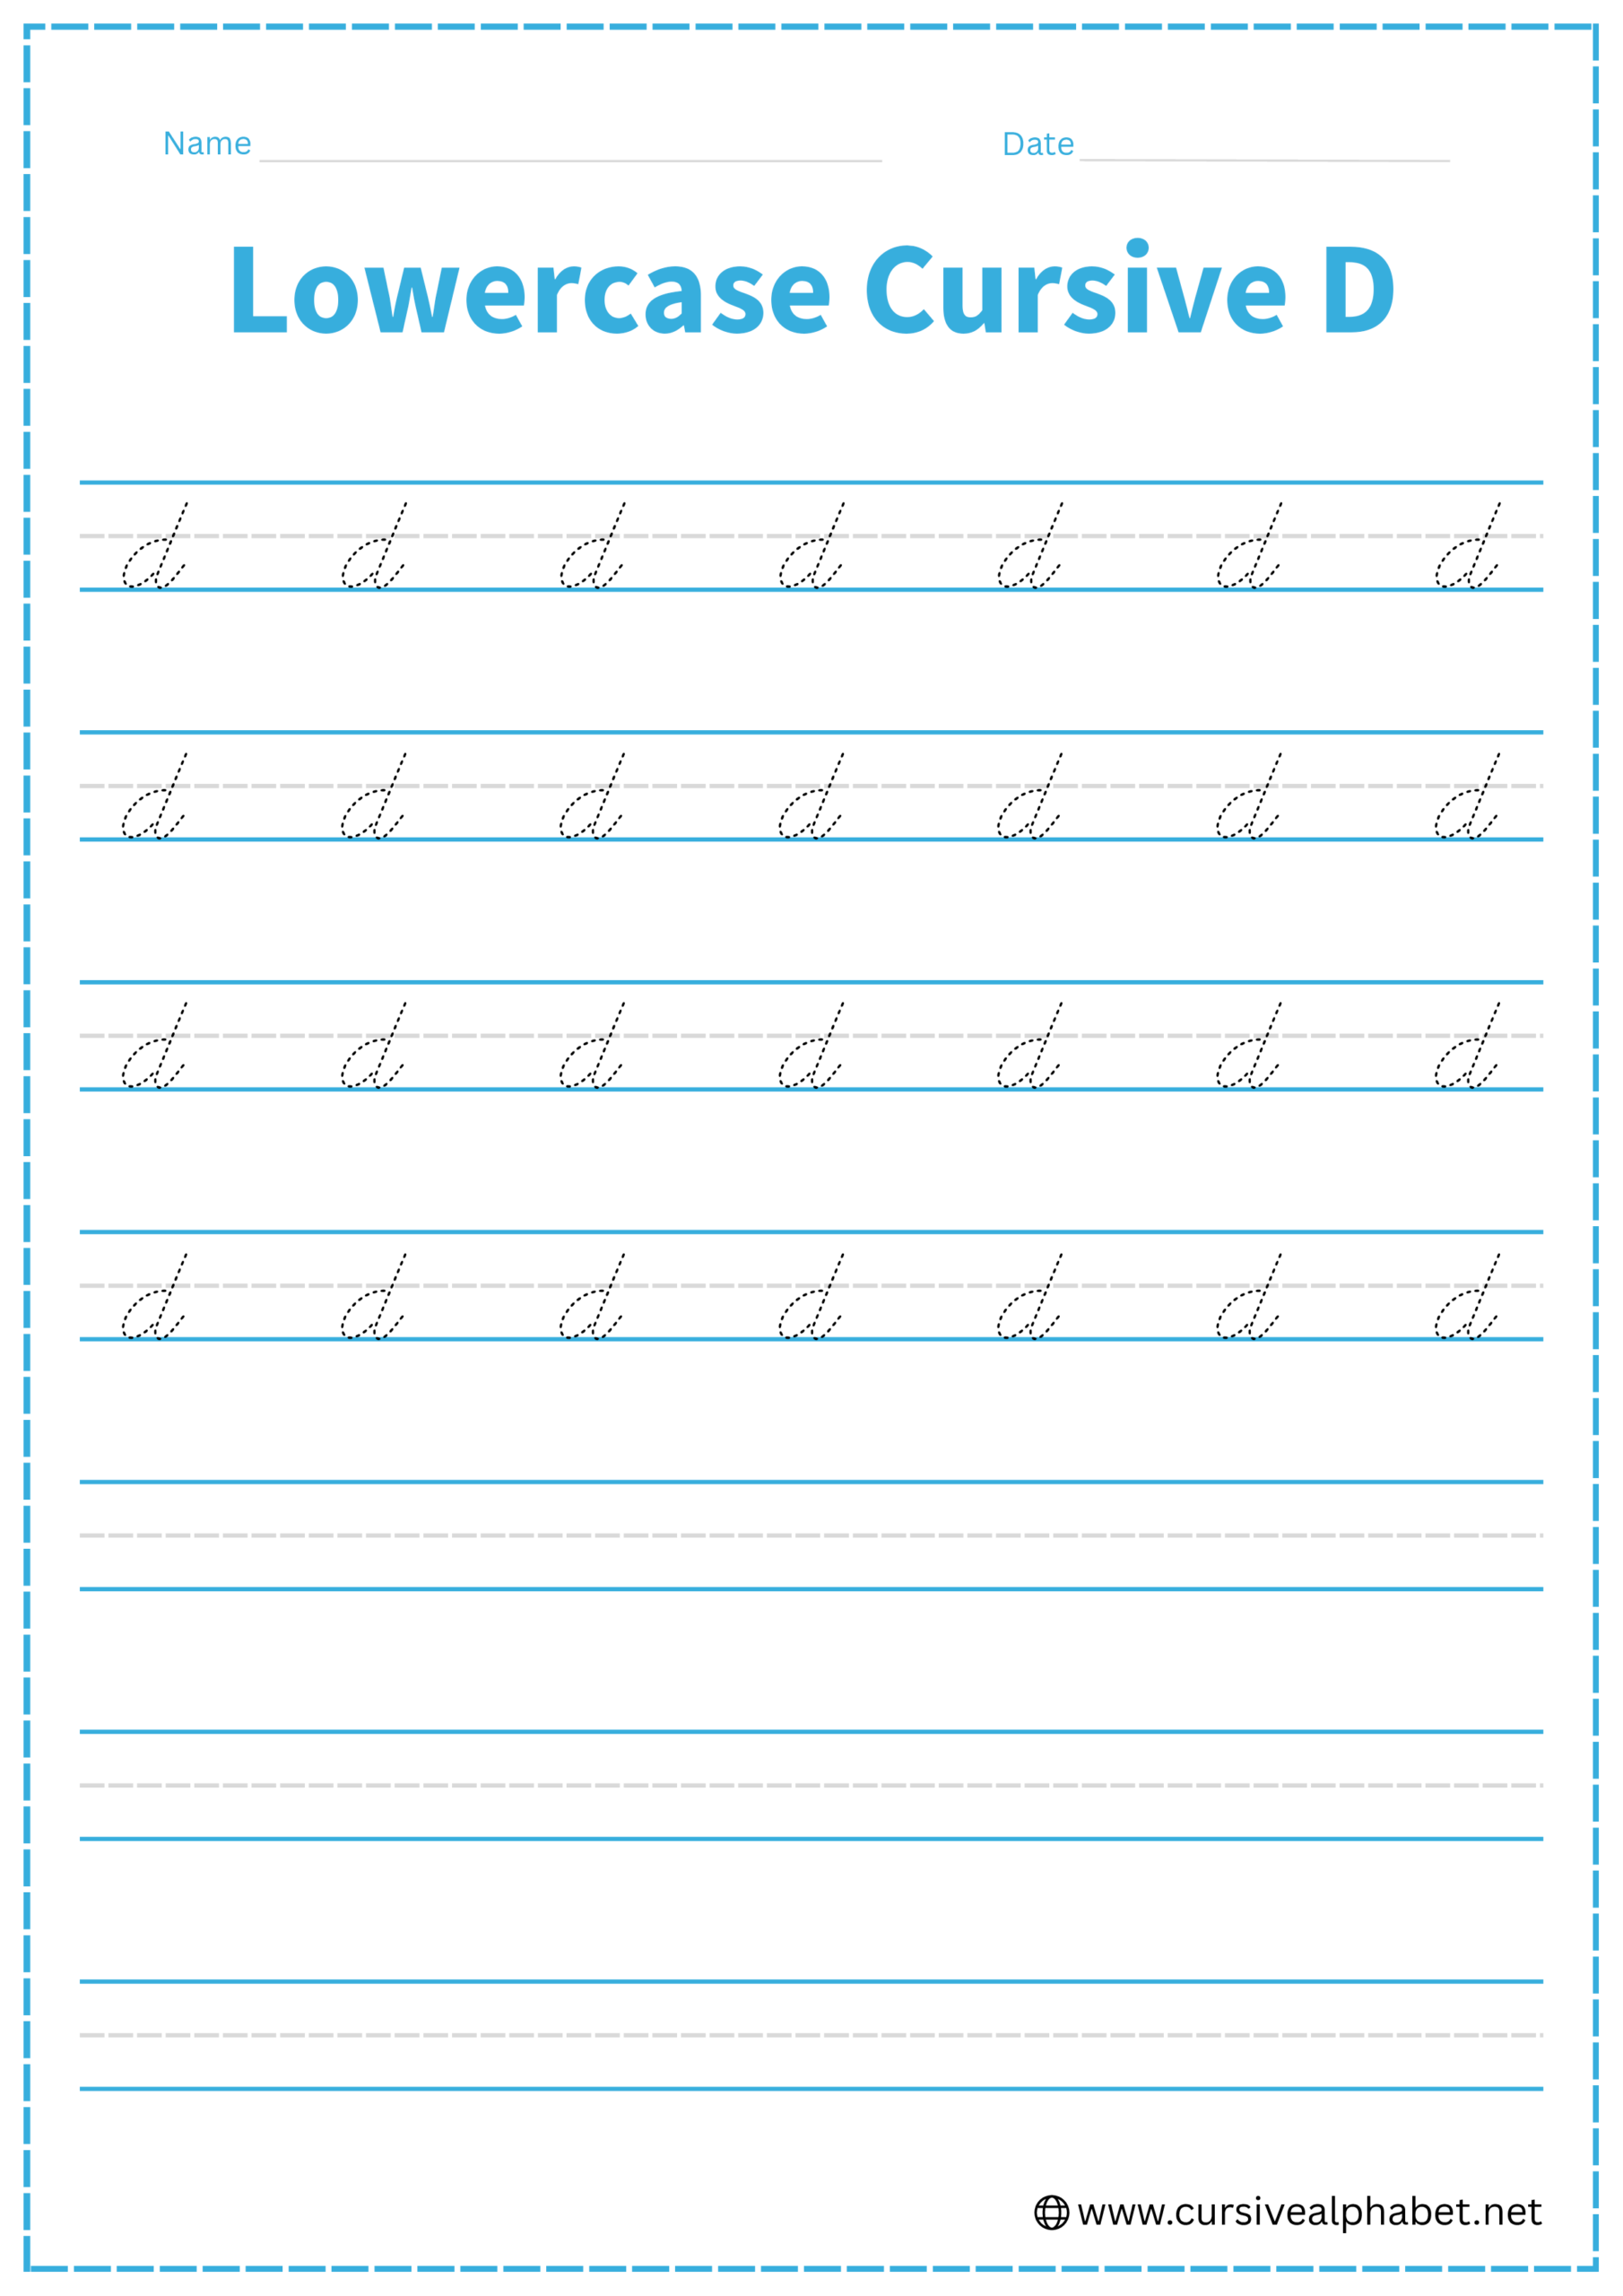
How to Write Lowercase Cursive D
- Start on the bottom baseline and curve up to the middle dashed line.
- Stop, retrace back around to the left, and form a closed oval that sits on the bottom baseline.
- From the top of the oval, draw a straight line all the way up to the top line.
- Move your pen directly back down the same stem line toward the bottom baseline.
- Curve slightly to the right as you hit the bottom line, ending with a flick toward the middle dashed line.
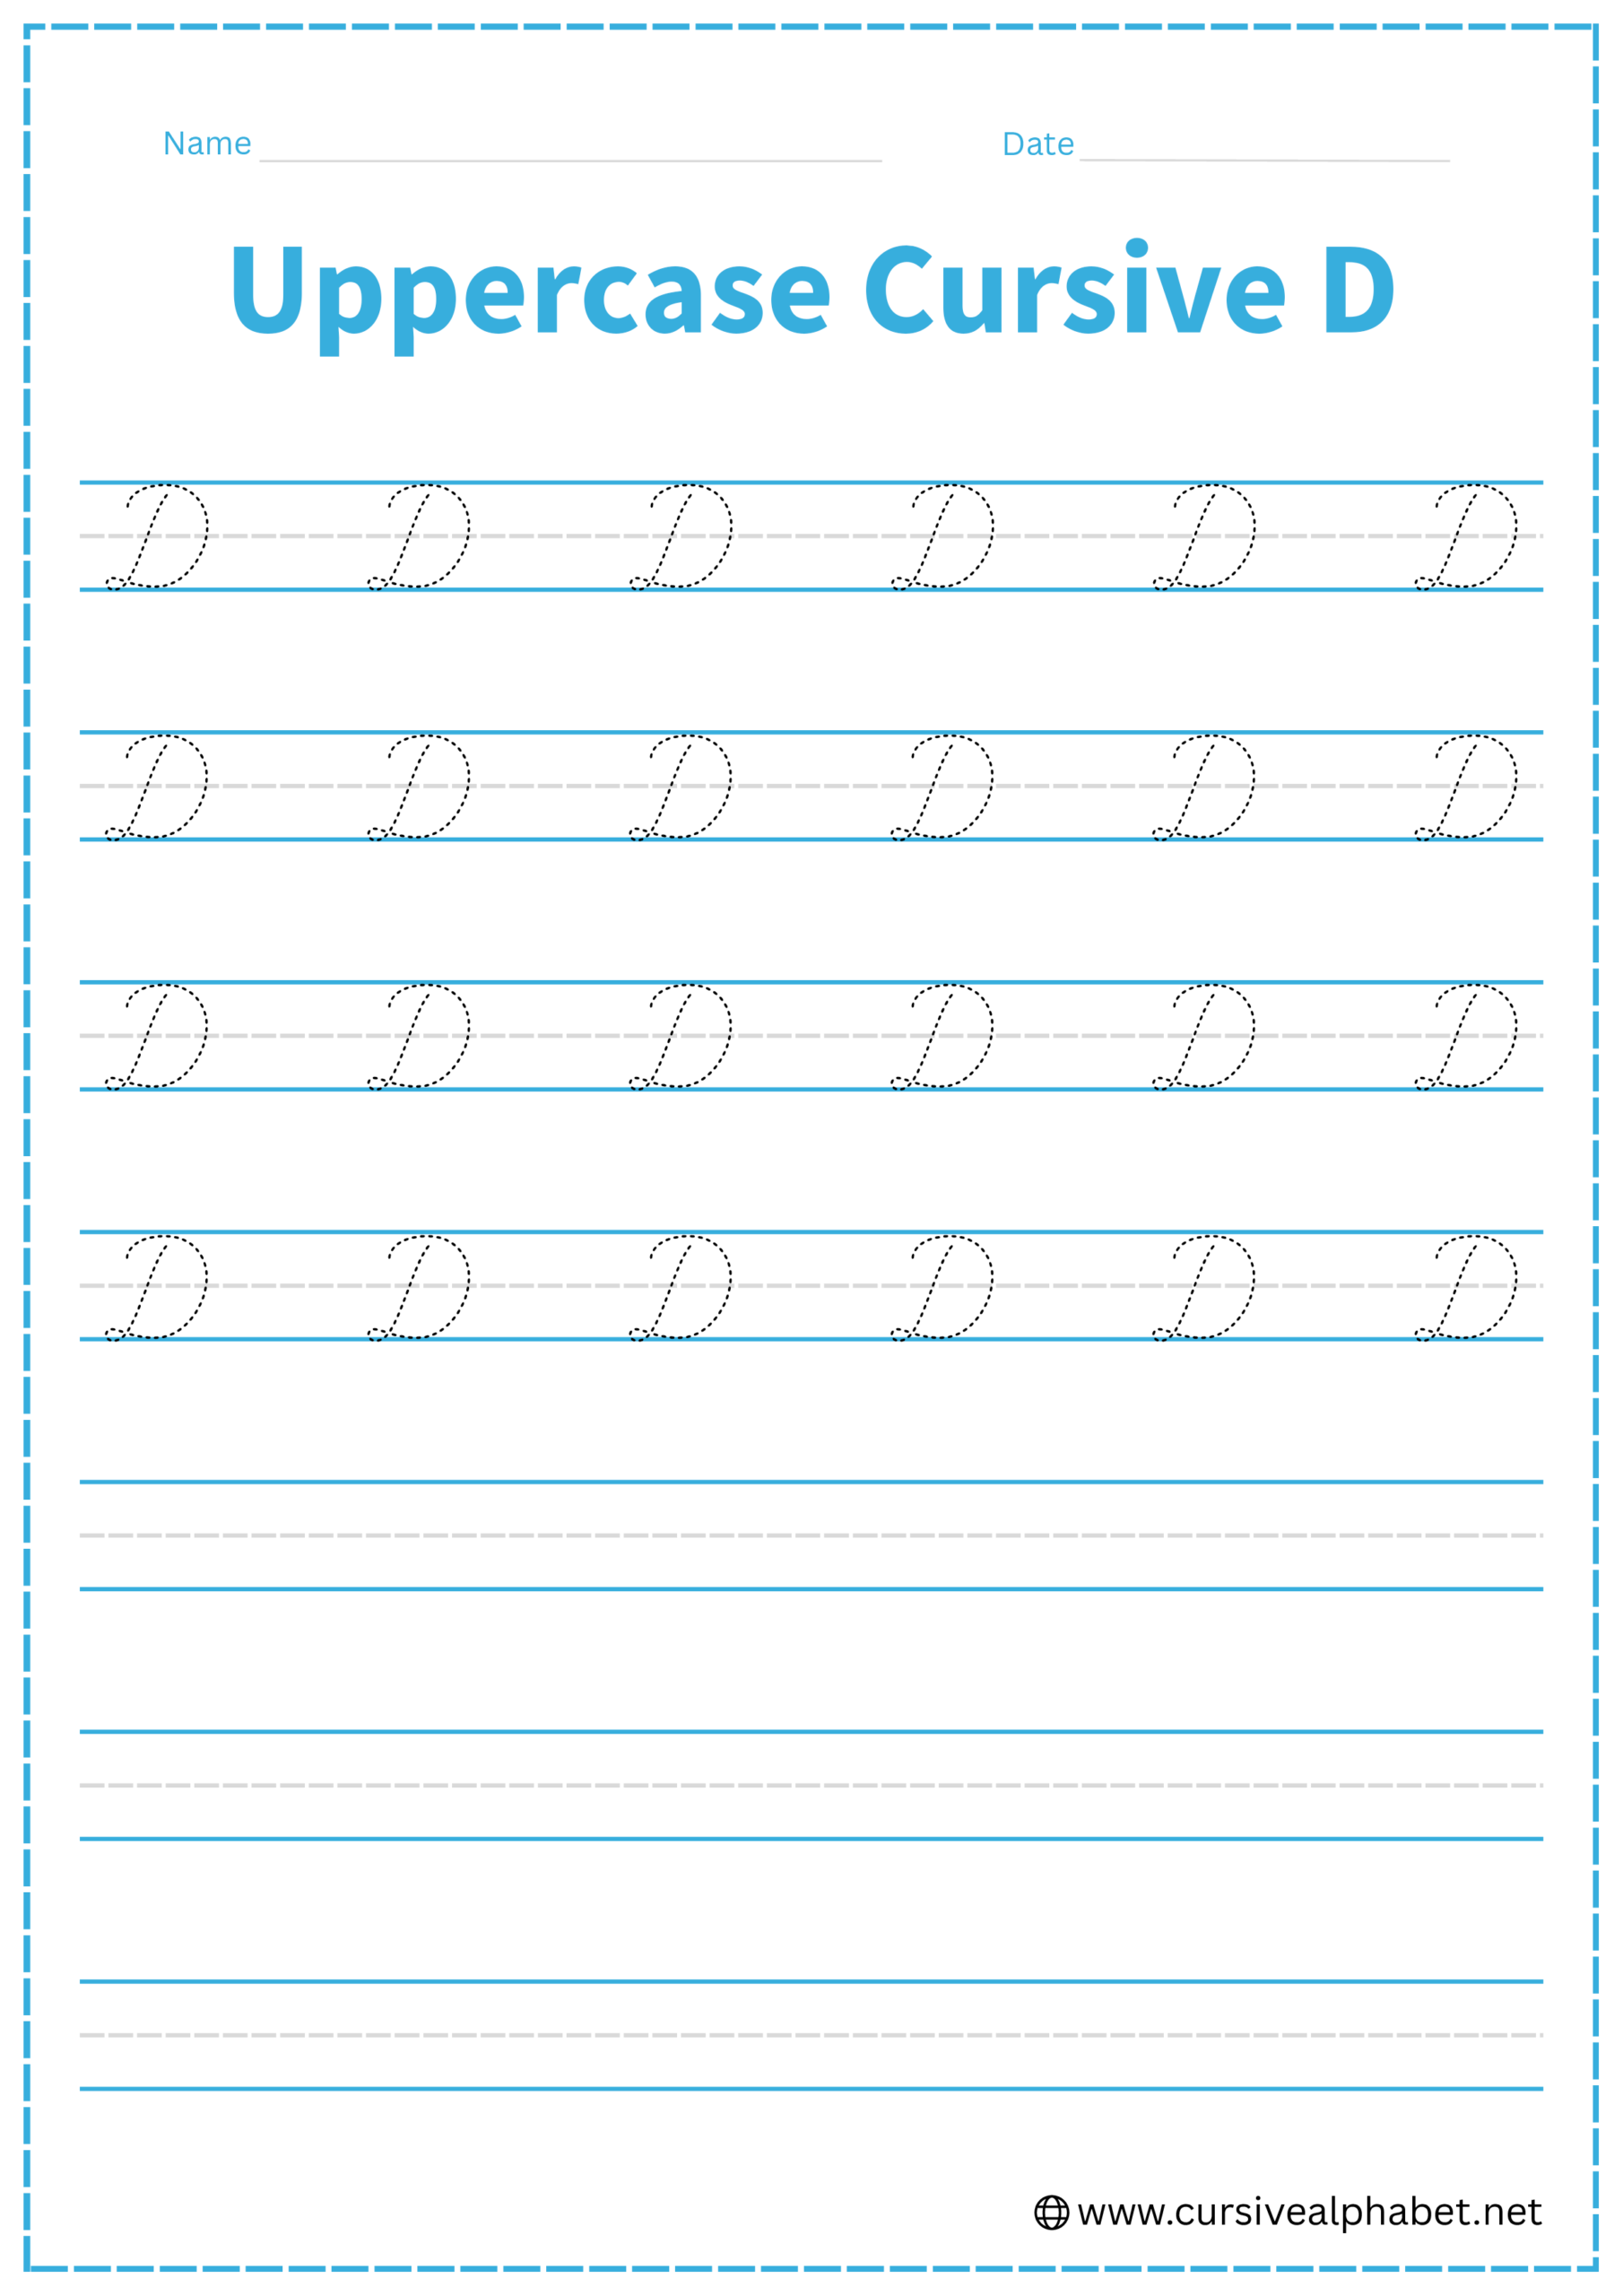
How to Write Uppercase Cursive D
- Start at the top line and draw a straight, slightly slanted line down to the bottom baseline.
- When you hit the baseline, make a small, tight loop to the left that sits flat on the bottom line.
- Sweep your pen to the right, creating a large, rounded curve that touches the bottom baseline again.
- Continue that curve upward and to the left, crossing the initial stem near the top line.
- Finish by bringing the curve slightly inside the top of the letter, ending with a small hook or “wave” near the top line.
Common Mistakes to Avoid
Lowercase Cursive D
- Leaving a gap between the oval and the stem instead of connecting them firmly.
- Stopping the stem at the middle dashed line, which makes the letter look like an a.
- Creating a loop in the stem rather than retracing the line straight down.
- Failing to touch the top line with the peak of the stem.
- Making the oval too wide instead of a slanted, compact shape.
Uppercase Cursive D
- Lifting your pen from the paper instead of completing the letter in one fluid motion.
- Making the bottom loop too large can make the letter look like a mess of tangles.
- Failing to touch the top line with the highest point of the arch.
- Crossing the stem too low instead of near the top of the letter.
- Ending the curve outside the letter instead of tucking it slightly inward at the top.
Frequently Asked Questions
To write an uppercase cursive D, start at the top line and draw a slanted stem down to the bottom baseline. Without lifting your pen, make a small, tight loop to the left on the baseline. Sweep the pen back to the right to create a large “belly” that curves up to the top line, crosses the initial stem, and finishes with a small inward hook at the top.
The primary difference is the height of the stem. While both letters begin with a similar oval base, the lowercase cursive “d” has a tall stem that must reach the top line. If you stop the stem at the middle dashed line, the letter will be misread as a lowercase “a.”
The most common mistake is making the bottom loop too large or crossing the initial stem too low. To keep the letter recognizable, ensure the bottom loop sits flat on the baseline and the final “great arch” crosses the stem near the very top of the letter.
No, one of the key rules of cursive is fluidity. Both the uppercase and lowercase cursive D should be written in one continuous motion. Lifting your pen can break the flow and make the “retrace” on the lowercase stem or the “belly” of the uppercase letter look jagged.
The lowercase “d” ends with an exit stroke or “flick” that starts at the bottom baseline and curves upward toward the middle dashed line. This stroke acts as a bridge, allowing you to transition smoothly into the next letter without stopping.
Yes! You can download our free printable cursive D worksheets on this page. These sheets include guided tracing for both uppercase and lowercase letters, helping you master the correct slant and height for neat, elegant handwriting.